

Cut out freezer paper pattern for snowflake
In creating this assortment of samples – all of which are made from entirely 100% felted woven wools – I want to share the process of folding, tracing and cutting the various paper templates used in their construction. Just to be clear, I made one larger dark green and winter white topper, as well as a group of three small 8-9″ red mats all of which I handled differently. I use both tracing paper and freezer paper for my patterns.
On sizes over 18″ round, it can be very difficult to find freezer paper that is wide enough, in which case I use tracing paper in a 24″ or wider width. Tracing paper does not need to be the high end type, and I often find it in art supply stores, quite frequently in the drafting supplies. It comes in rolls and tablets – the rolls are my preference, because you can use only what you need. The rolls are also available on the internet and reasonably cost-effective.
Freezer paper comes in a standard roll size and is easily available at a grocery store. (You may want to check out your local butcher if you would like a size larger than 18″ as I understand they sometimes carry sheets as wide as 24.”) All of my projects are within the 18″ maximum size. I’ve found that freezer paper works extremely well with felted woven wool; keeping the wool very stable and allowing one to cut very accurate shapes or appliques. Also freezer paper templates can often be used more than once. I save all my templates – both tracing paper and freezer paper ones.

Find the 30° angle markings on your mat

Close up of mat markings for 30° angles

First fold of the quarter folded paper on 30° lines
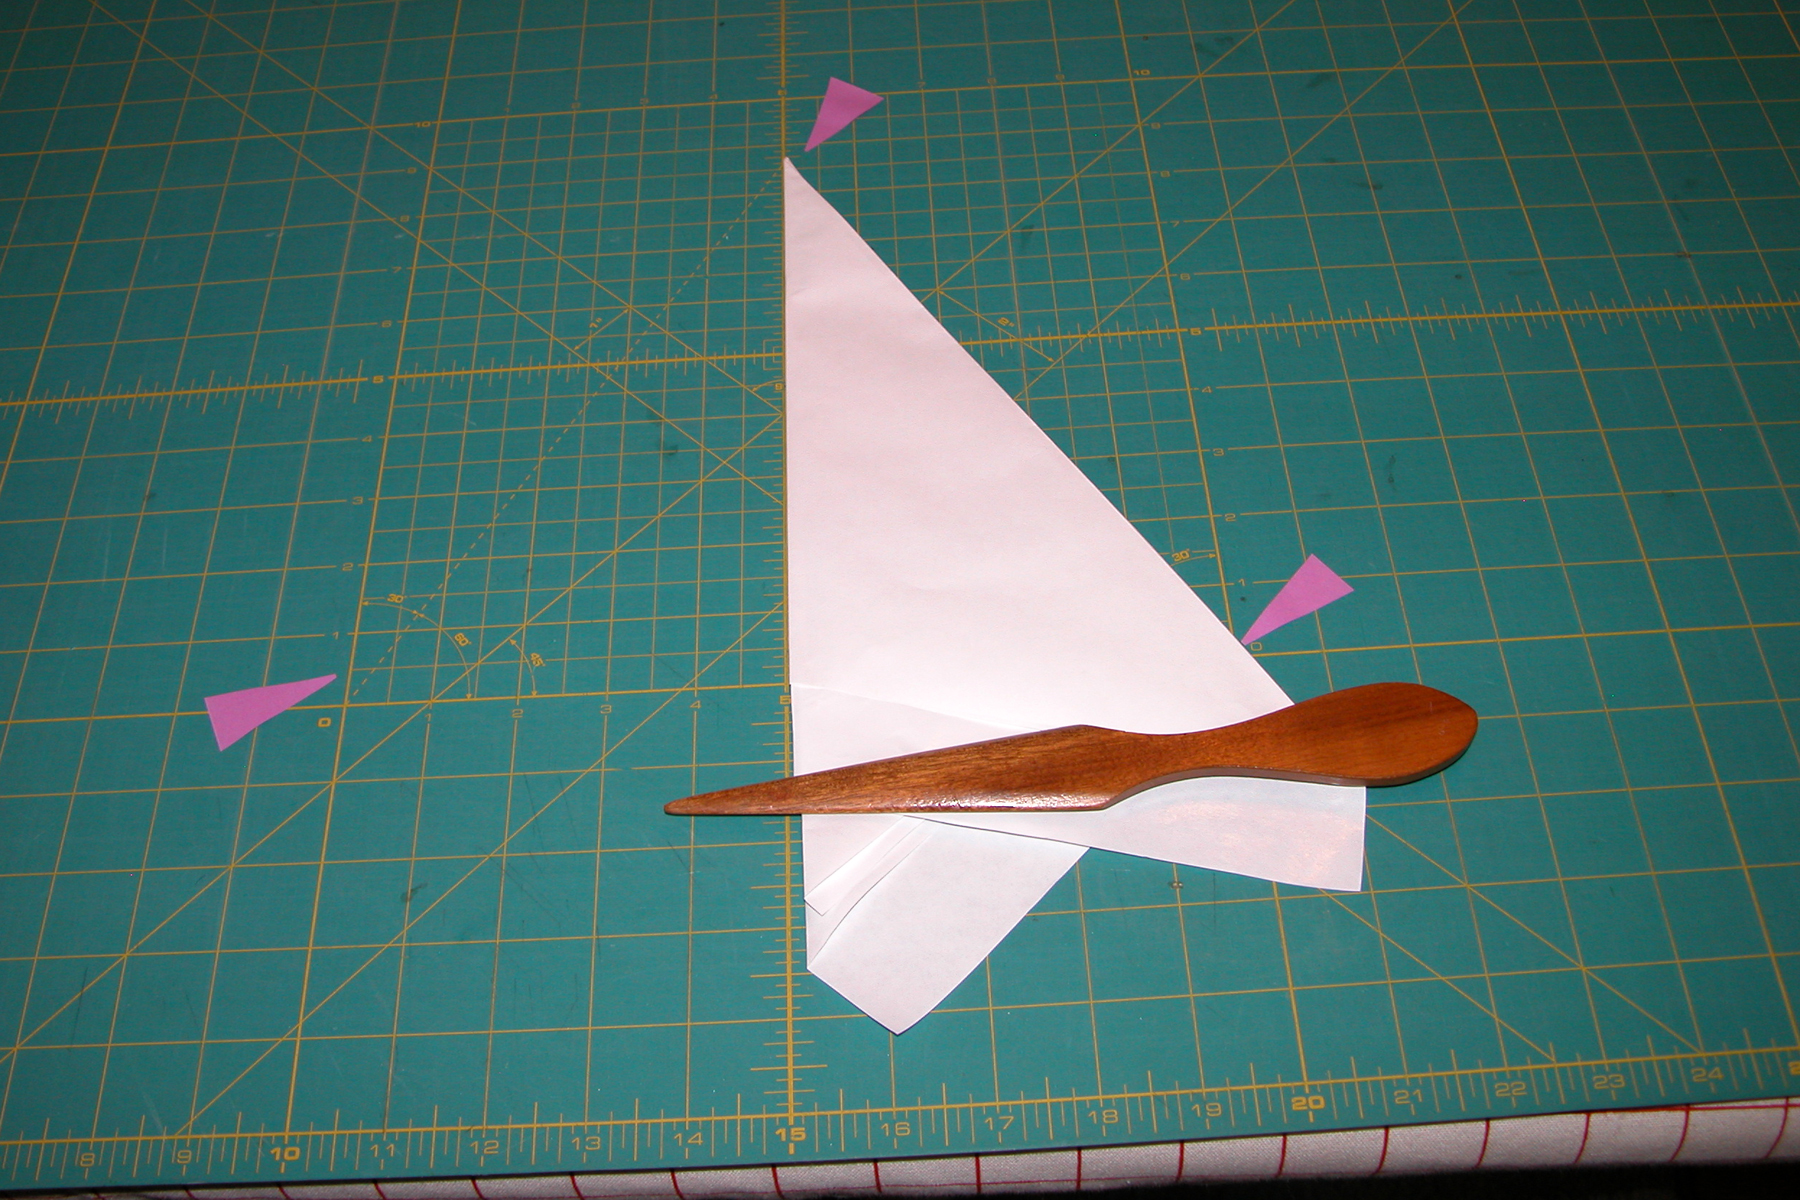
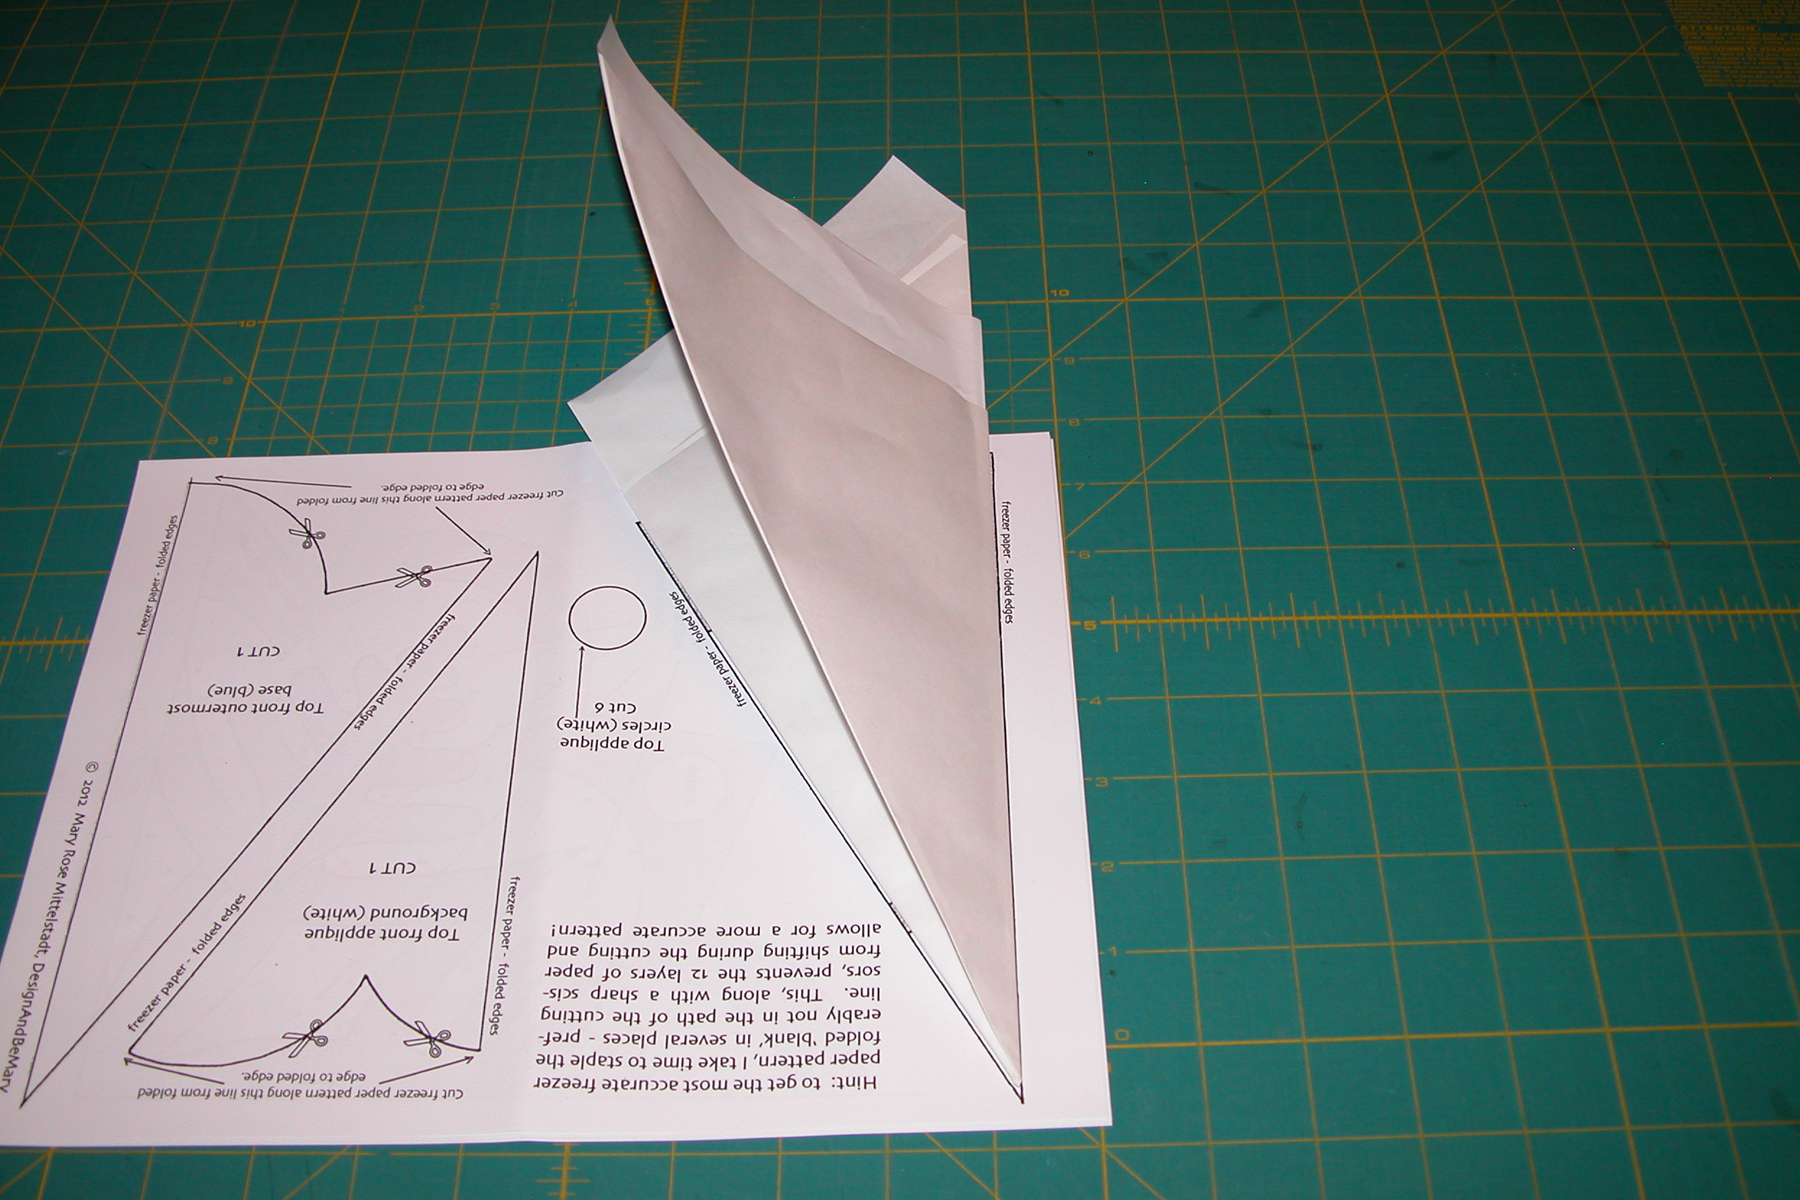
To begin any of the folded ‘snowflake’ type templates, you will need to start with a square piece of freezer paper – likely 18″ x 18″ as this is the width of the typical rolls. Make a first fold, corner to corner (shiny side in) – resulting in a large triangle (this makes a crease going from one corner to the opposite corner). Press the crease as flat and smooth as possible – the more accurate you are with your folds, the better your appliques will come out. I also use a letter opener to smooth and press the folds – a bone folder works as well. Make a second fold by folding this triangle in half again.
Using a cutting mat (you can also find 30° lines on quilters rulers), find the markings for 30° angles. See the photos on the left and in the center. Then place the twice folded triangle on the mat as shown in the photo on the right, centering the ‘tip’ of the folded triangle at the top and placing the left side of the folded triangle along the left 30° line. Fold the right side of the folded triangle forward – matching the edge to the center line – thus creating the first 30° fold.
Keeping the folded triangle exactly where it is, take the left hand side of the triangle and bring the edge over and even with the right edge fold that was previously created (as in photo on right) – creasing the fold that is made on the left side. See the photo on the left below. All long edges and folds should be even as possible for a great ‘snowflake.’ I flatten all the edges with my letter opener in order to make crisp folds. (By the way, all of my ‘snowflake’ topper patterns have an illustrated page showing how to fold a paper snowflake.)
Final 30° fold to make 6 sided snowflake template
Folding 30° angles using the pattern template
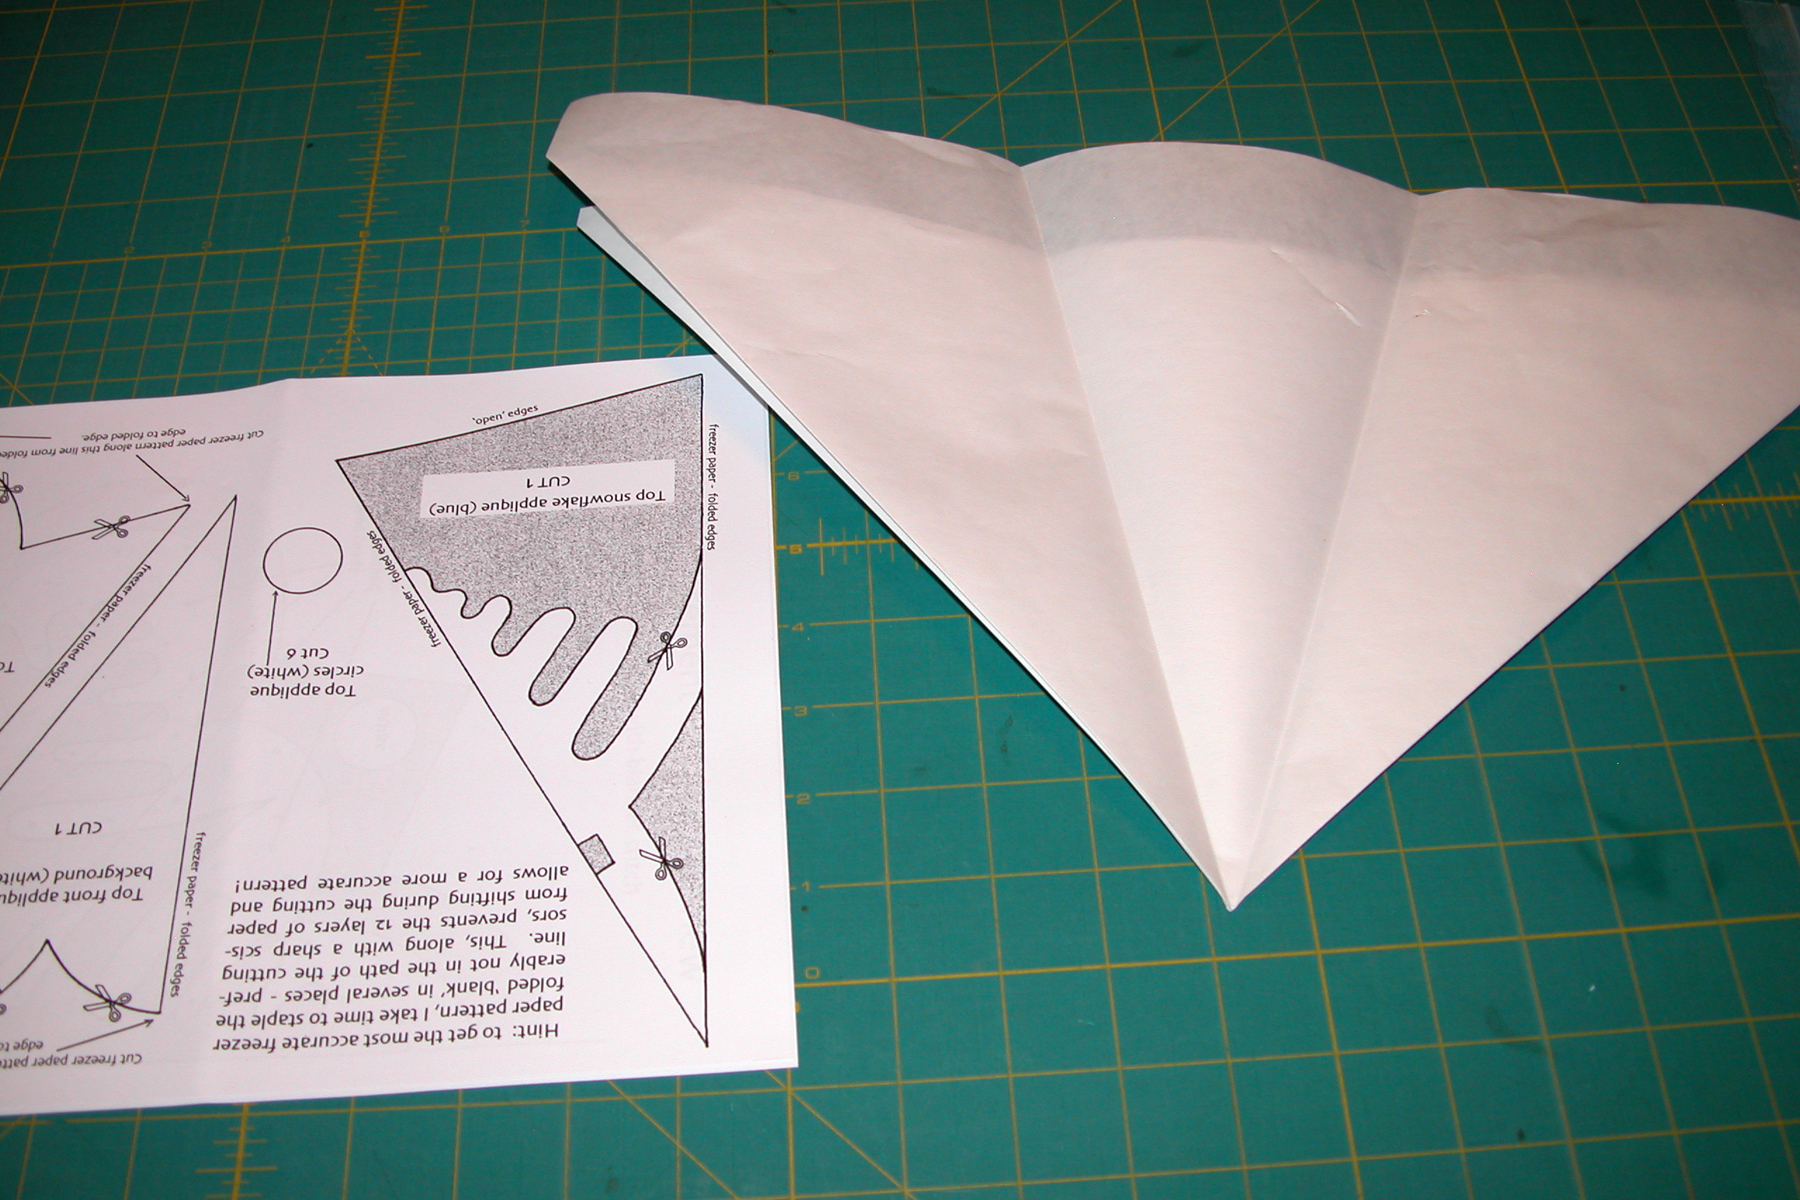
Aligning folded triangle on top of pattern template drawing
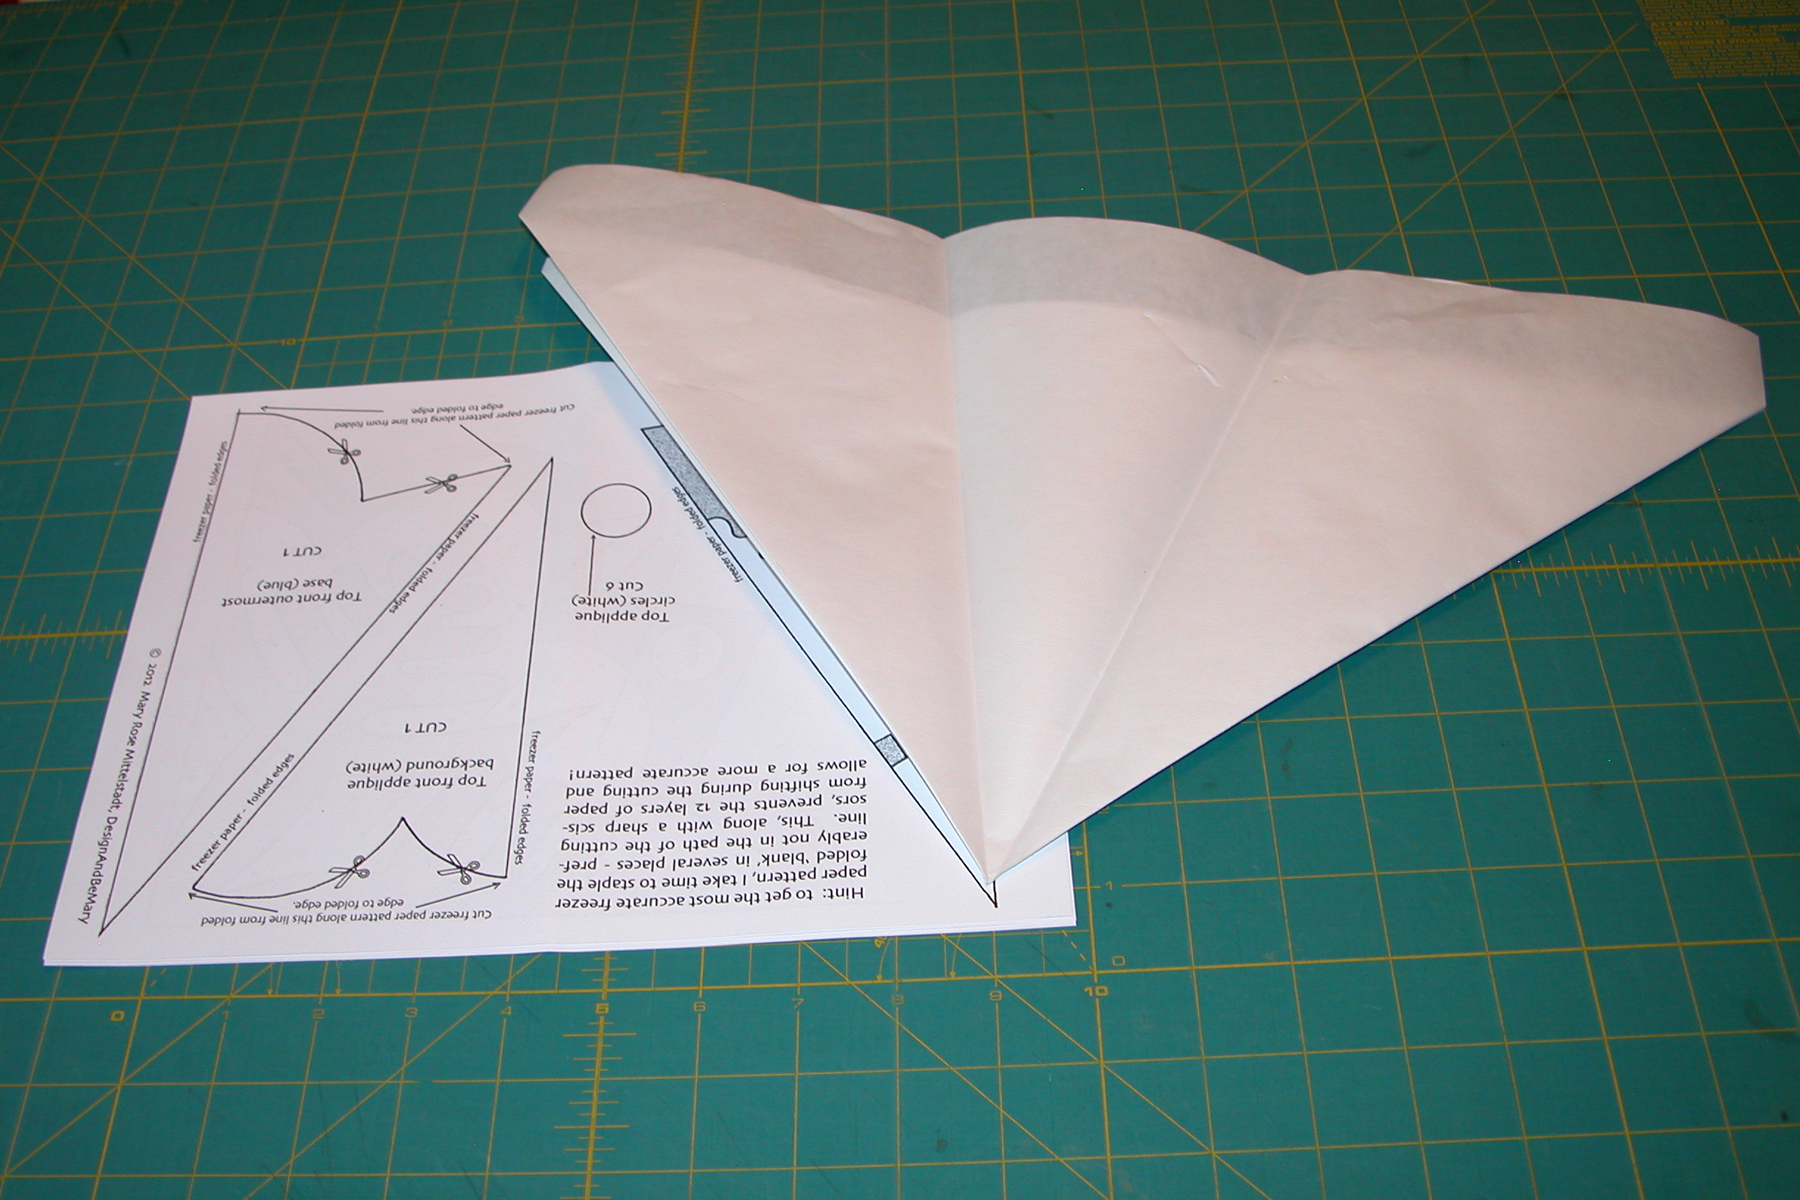
Another way to easily fold 30° angles is to use the pattern template sheet. In the center picture above, I unfolded the template I made using the markings on my cutting mat. I have placed this next to the pattern template – notice the direction. The photo on the right shows the quarter folded template now placed on the pattern template drawing and matching the left hand edges.Take the right hand edge and fold it over to the left (PAST the left hand edge) until you can align a fold along the right side edge of the pattern template (See the photo on the left below.) Crease well. Then flip the whole folded triangle template over, aligning both the left side fold and the ‘center’ fold along the edges of the pattern template drawing (center photo below). Then simply fold the right hand edge of the folded triangle over to the left hand edge, making sure the edges and folds are as tight as possible. See photo – below right. Crease well.

First fold using pattern template drawing
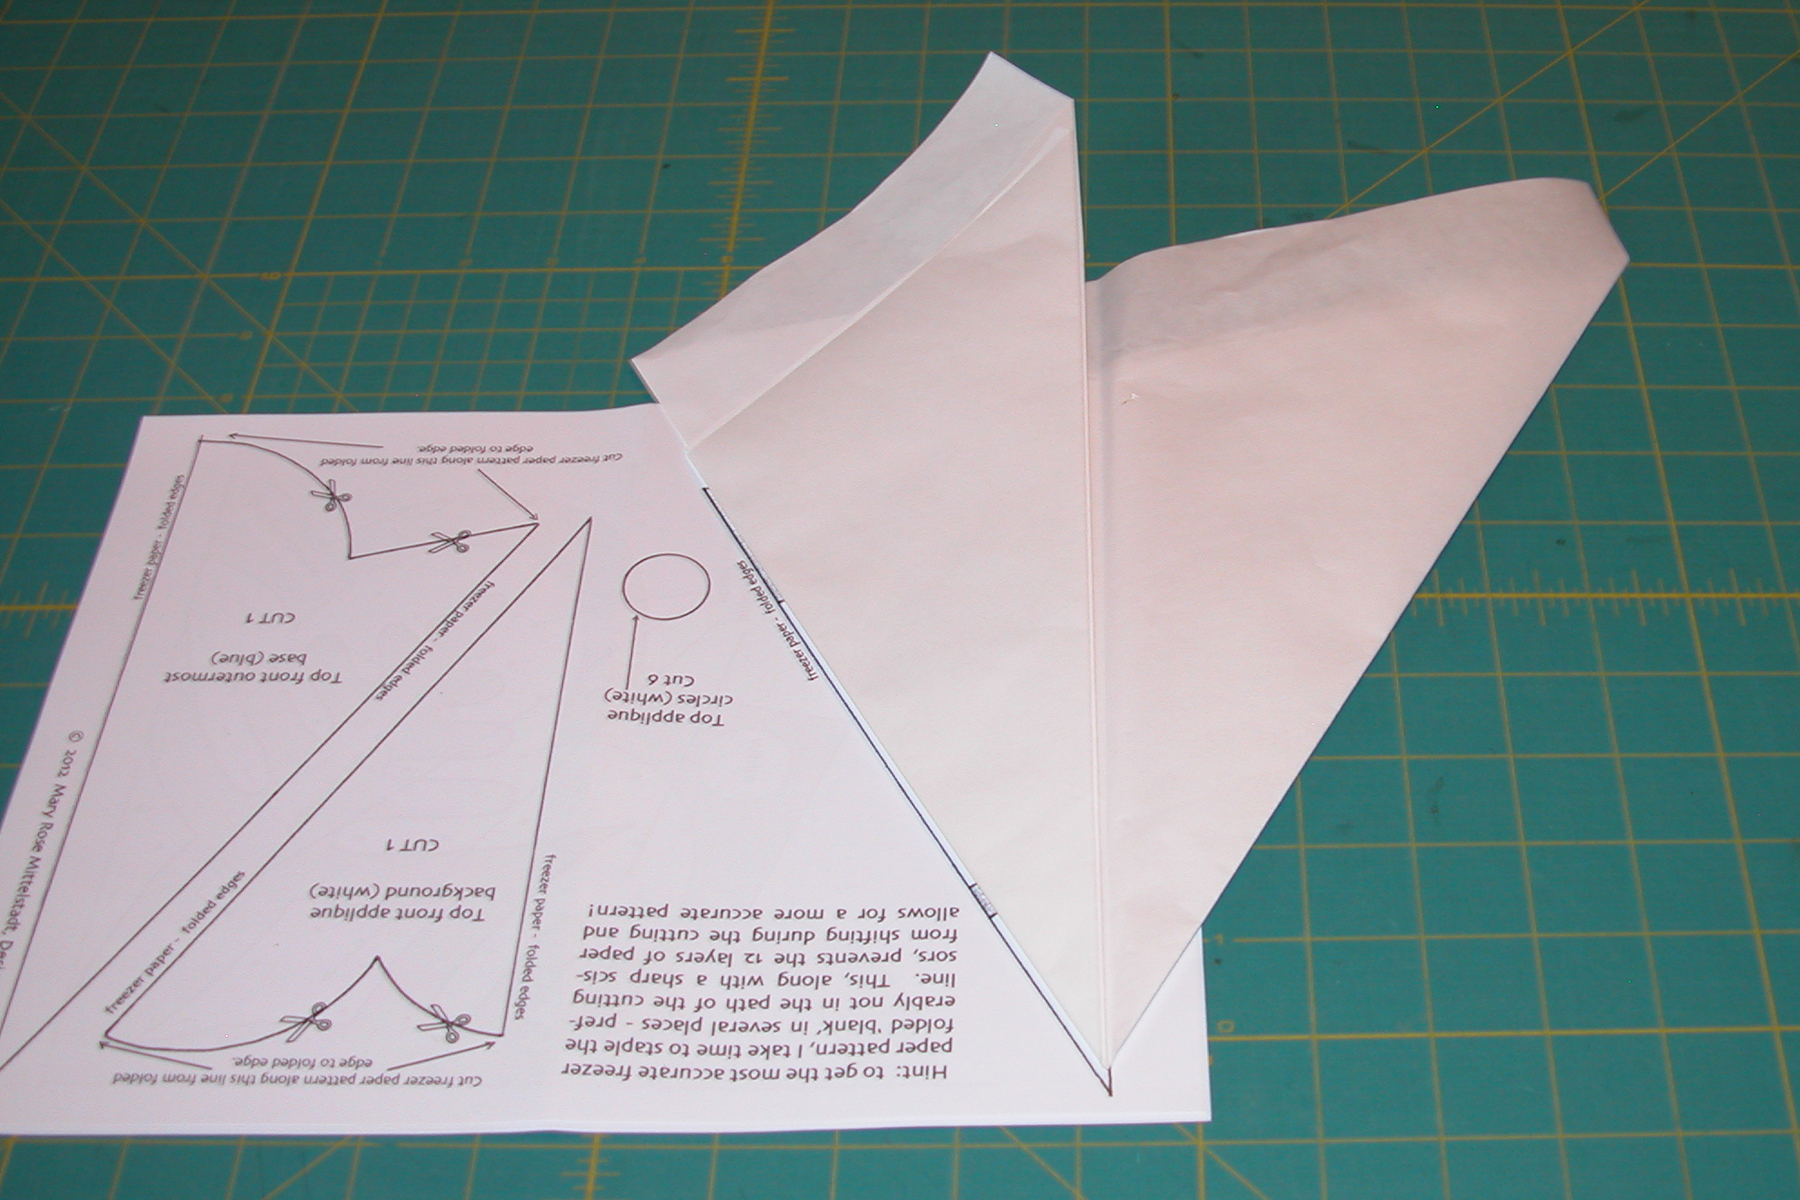
TURN OVER and line up folded edge just created!
Final folded template on top of pattern template drawing
Carefully unfold your 6 sided snowflake freezer paper template. Place it shiny side down, matching one of the six triangles with the pattern template drawing. See photo on left below. It is fairly easy to see through the freezer paper. (I used sewing weights to hold mine in place while I traced the drawing of the applique. This method also works in making background templates where you would only need to trace the border/edge design.) Trace the applique design in one of the 6 ‘folded’ triangles. When done, refold your paper template as in the center photo below. ‘Refresh’ your creases. Then, to keep the layers of paper from moving while you cut the template out, staple the folded template together in a number of different places, taking care not to staple where you will be cutting! If possible, place your staples ‘outside’ the applique design so you don’t have to spend time removing them from your usable template. Be sure to click on the photo -below right – and notice the difference in where the staples are placed in these background templates.
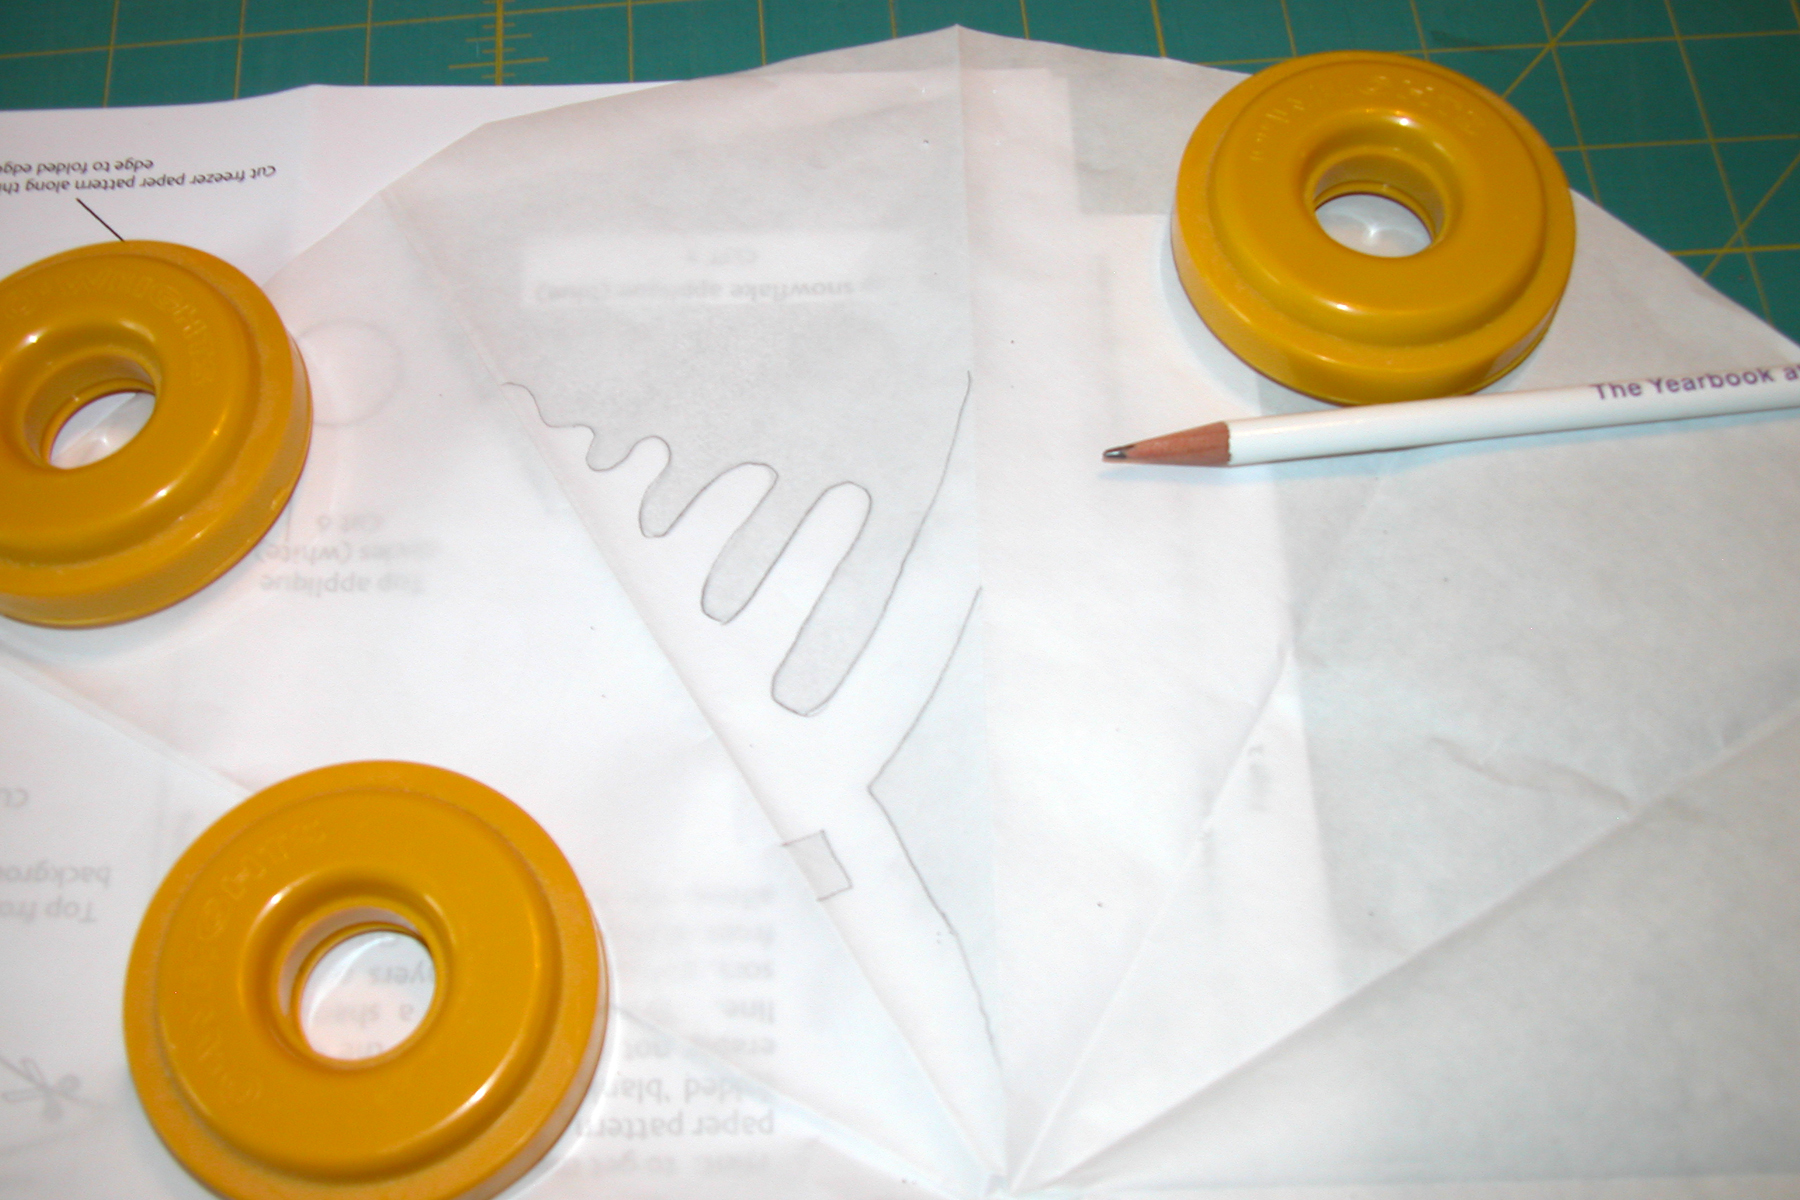
Tracing pattern template edges or applique designs
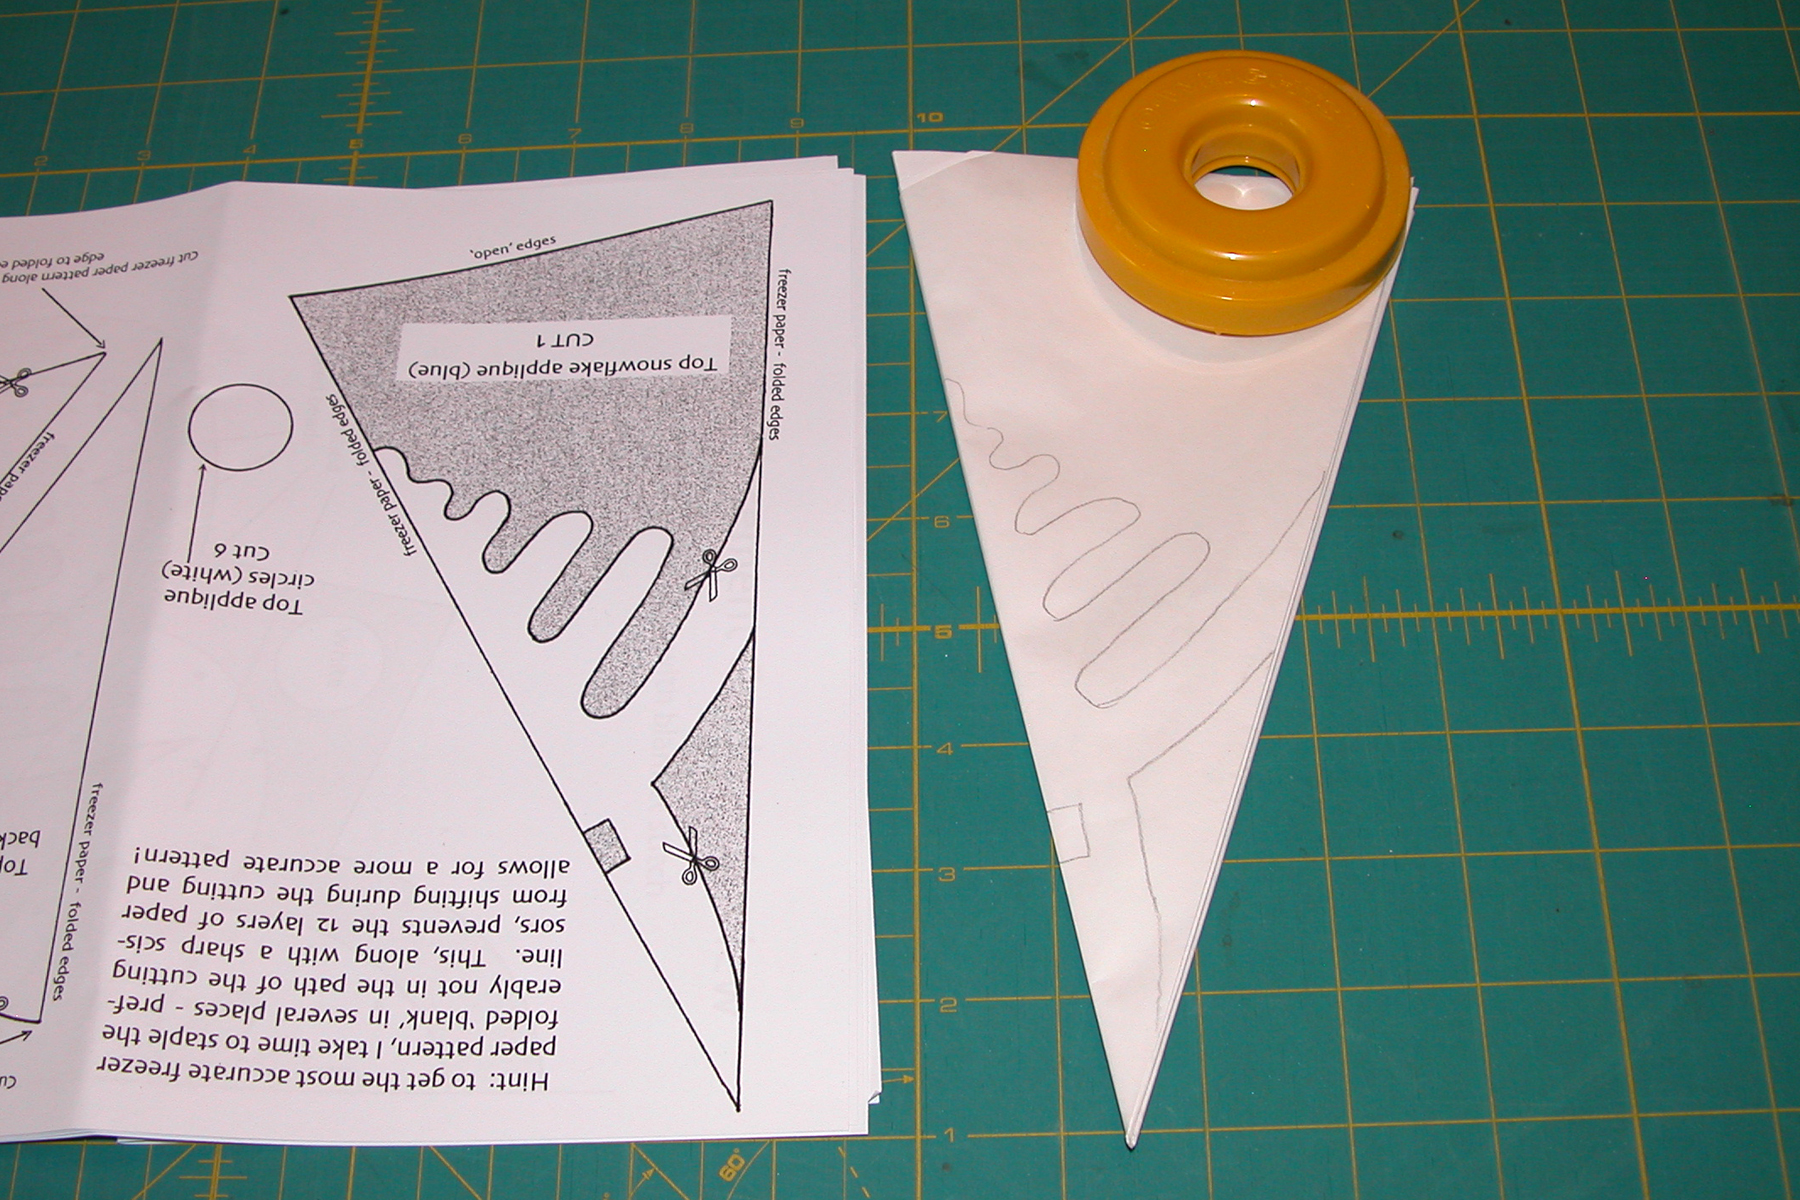
Traced paper template refolded, ready to be cut!
Do’s and don’t of stapling paper templates for cutting
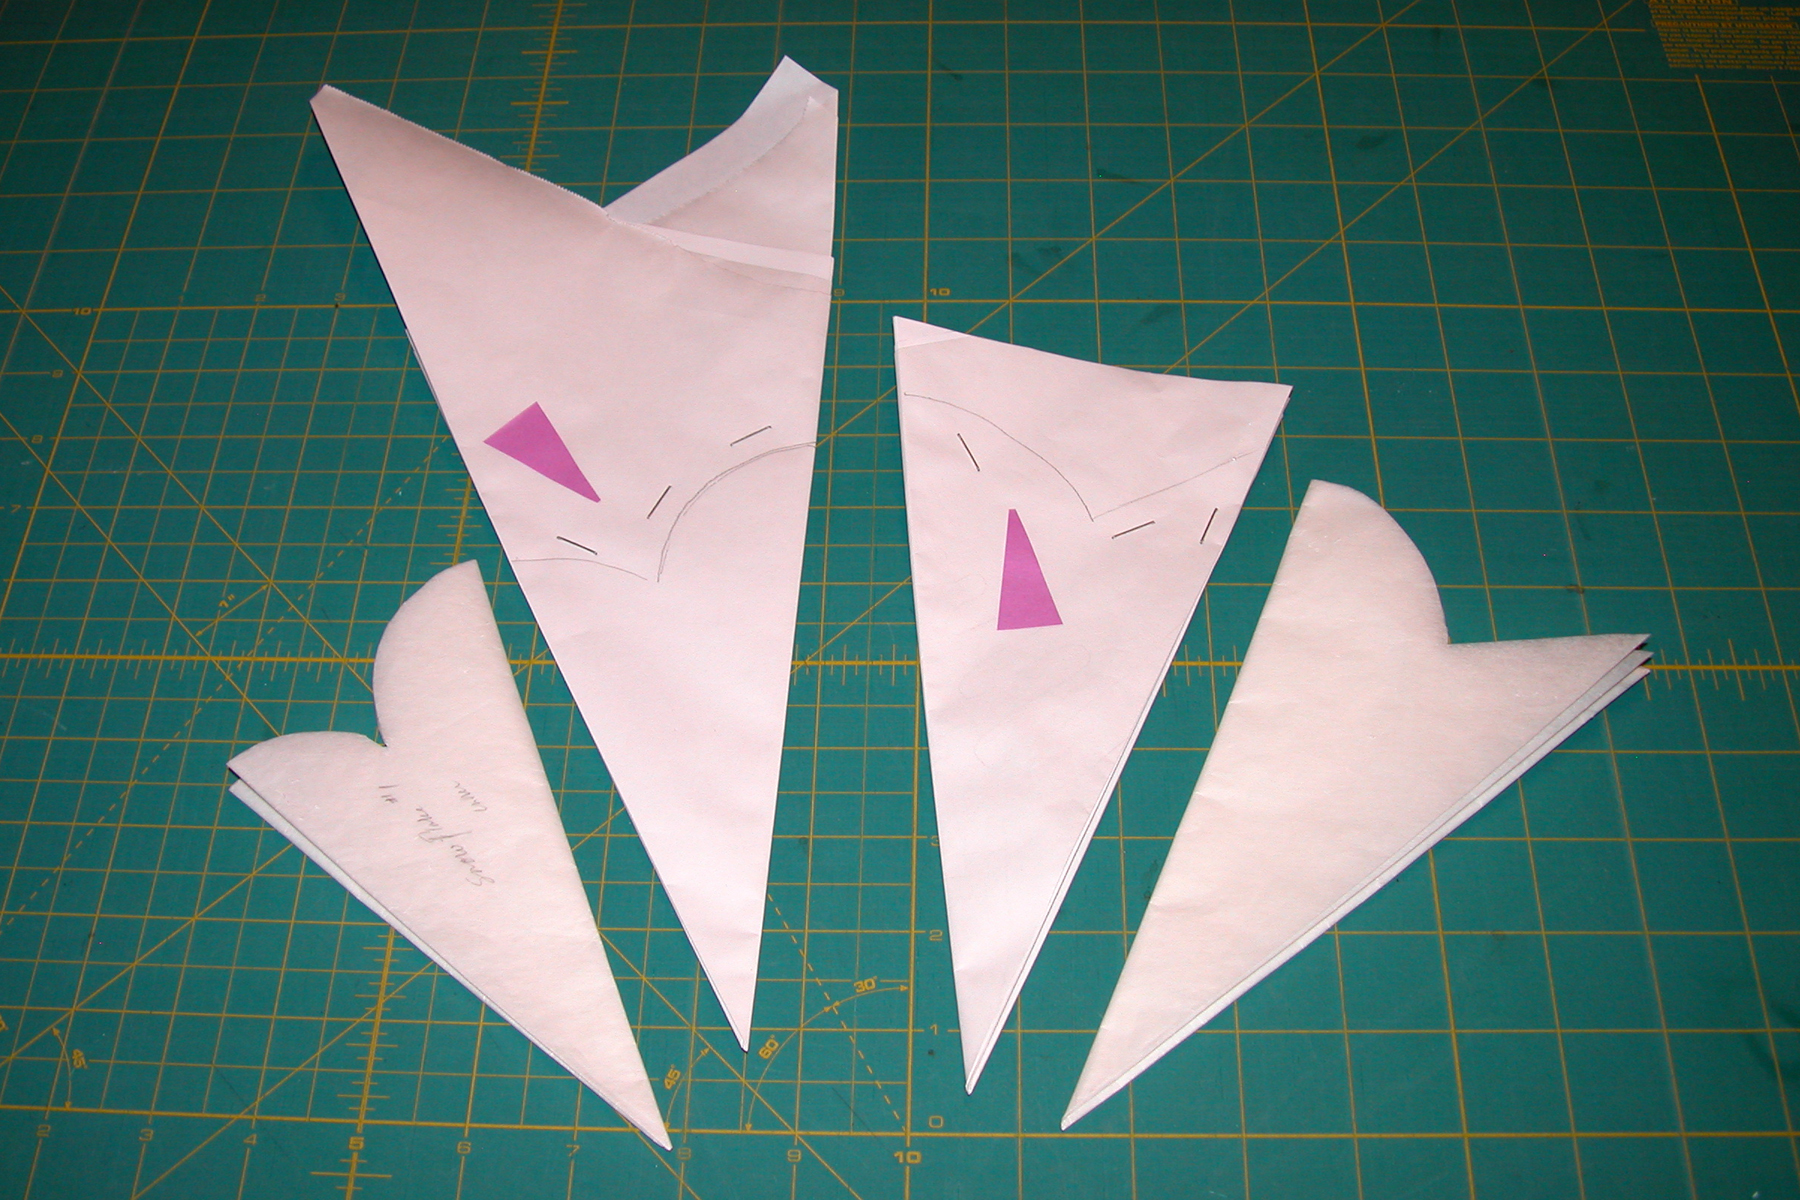
With a sharp paper scissors, cut out your freezer paper templates (You will need background templates as well as applique templates). [You may also note that there is a smaller center snowflake design that was cut out and removed – I will use this piece to make the small center white snowflake that is appliqued on top of the green wool snowflake. This is not shown in these photos.] Remove any staples if needed. Carefully unfold your templates. Whaalaah!!! These are now ready to be pressed to the wool.
Cut out freezer paper pattern for snowflake
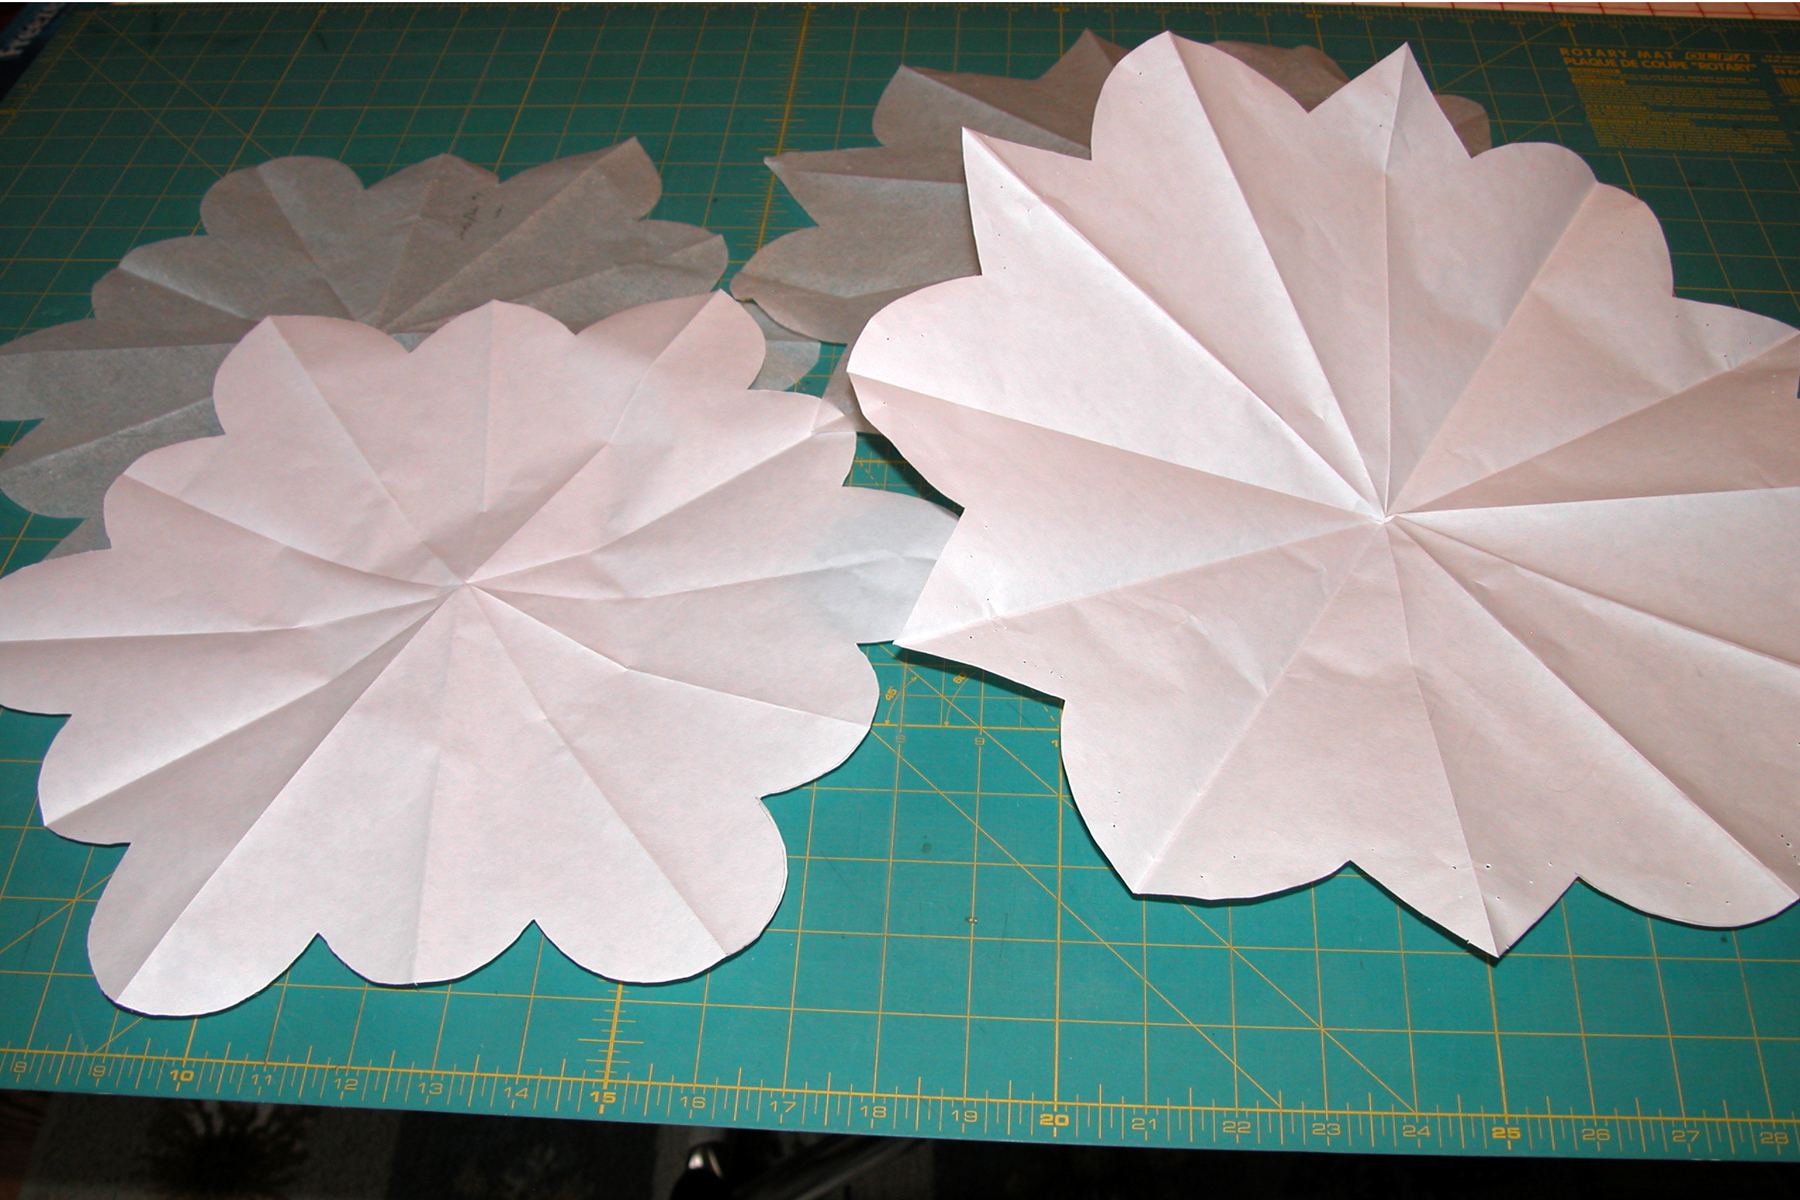
Base/background paper templates, both freezer paper and tracing paper
Next post – Fusibles and Options.