
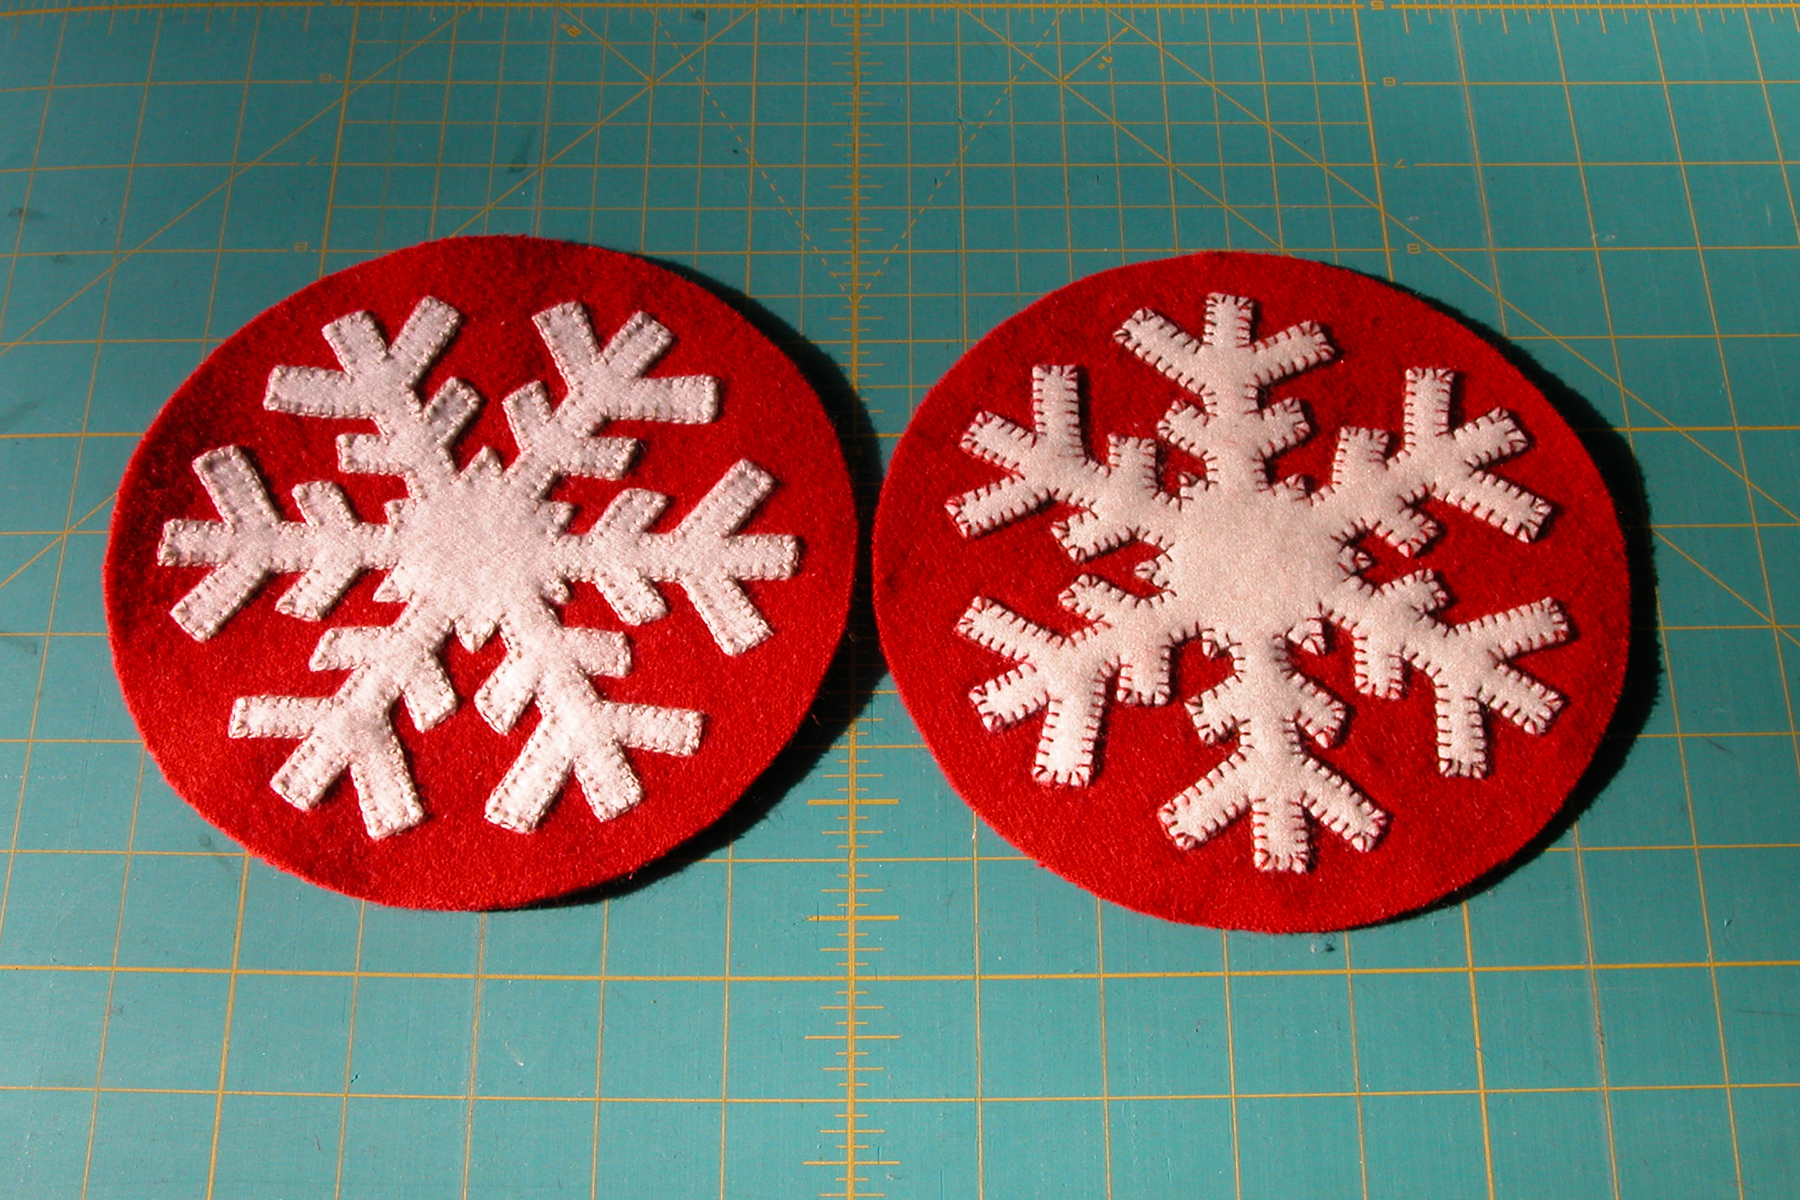
Two sample models with appliques stitching completed
Continuing from the previous post, I made my thread choices and appliqued the white snowflakes to the red background. You can see the dark variegated thread I used on the model to the right. It is interesting to experiment and see the effect of different thread colors – you will see later in this post that I did yet another one with black thread. I will also suggest that if you are new to stitching you may want to consider that a high contrast thread will show up more than a thread color that blends in – so if you are having fun but have yet to develop consistent stitches and don’t want to draw any extra attention to your stitching, stick with a low contrast thread
I used the fairly traditional blanket edge stitch for the appliques, but feel free to check out any of the hundreds of embroidery stitches found in so many of those book collections made for embroiderers and crazy quilters. There are so many possibilities – no two projects ever have to look alike! Any embroidery needle will work, so use what is comfortable to you. However, if given the chance don’t be afraid to experiment with another brand..or length…or size. I have loved using Jenna Kimball straw needles for all my quilting (meaning cotton quilts) appliques for years and it would take a bit to get me to change, but I had never used her embroidery/redwork needles. Thanks to a LQS who gave me a tube of the size 9 Redwork/Embroidery needles, I found that I really enjoyed using those needles. The DMCs that I had been using were fine, but to my surprise, the Kimball ones felt better in my hand and seemed to allow me more dexterity in achieving smaller and more accurate stitches. I have a fellow Daystitcher who is sold on a needle that much shorter and wouldn’t use anything else: I tried one of hers and still prefer the Kimball needle. The lesson here is experiment and be open to new possibilities – even with things as simple as needles!
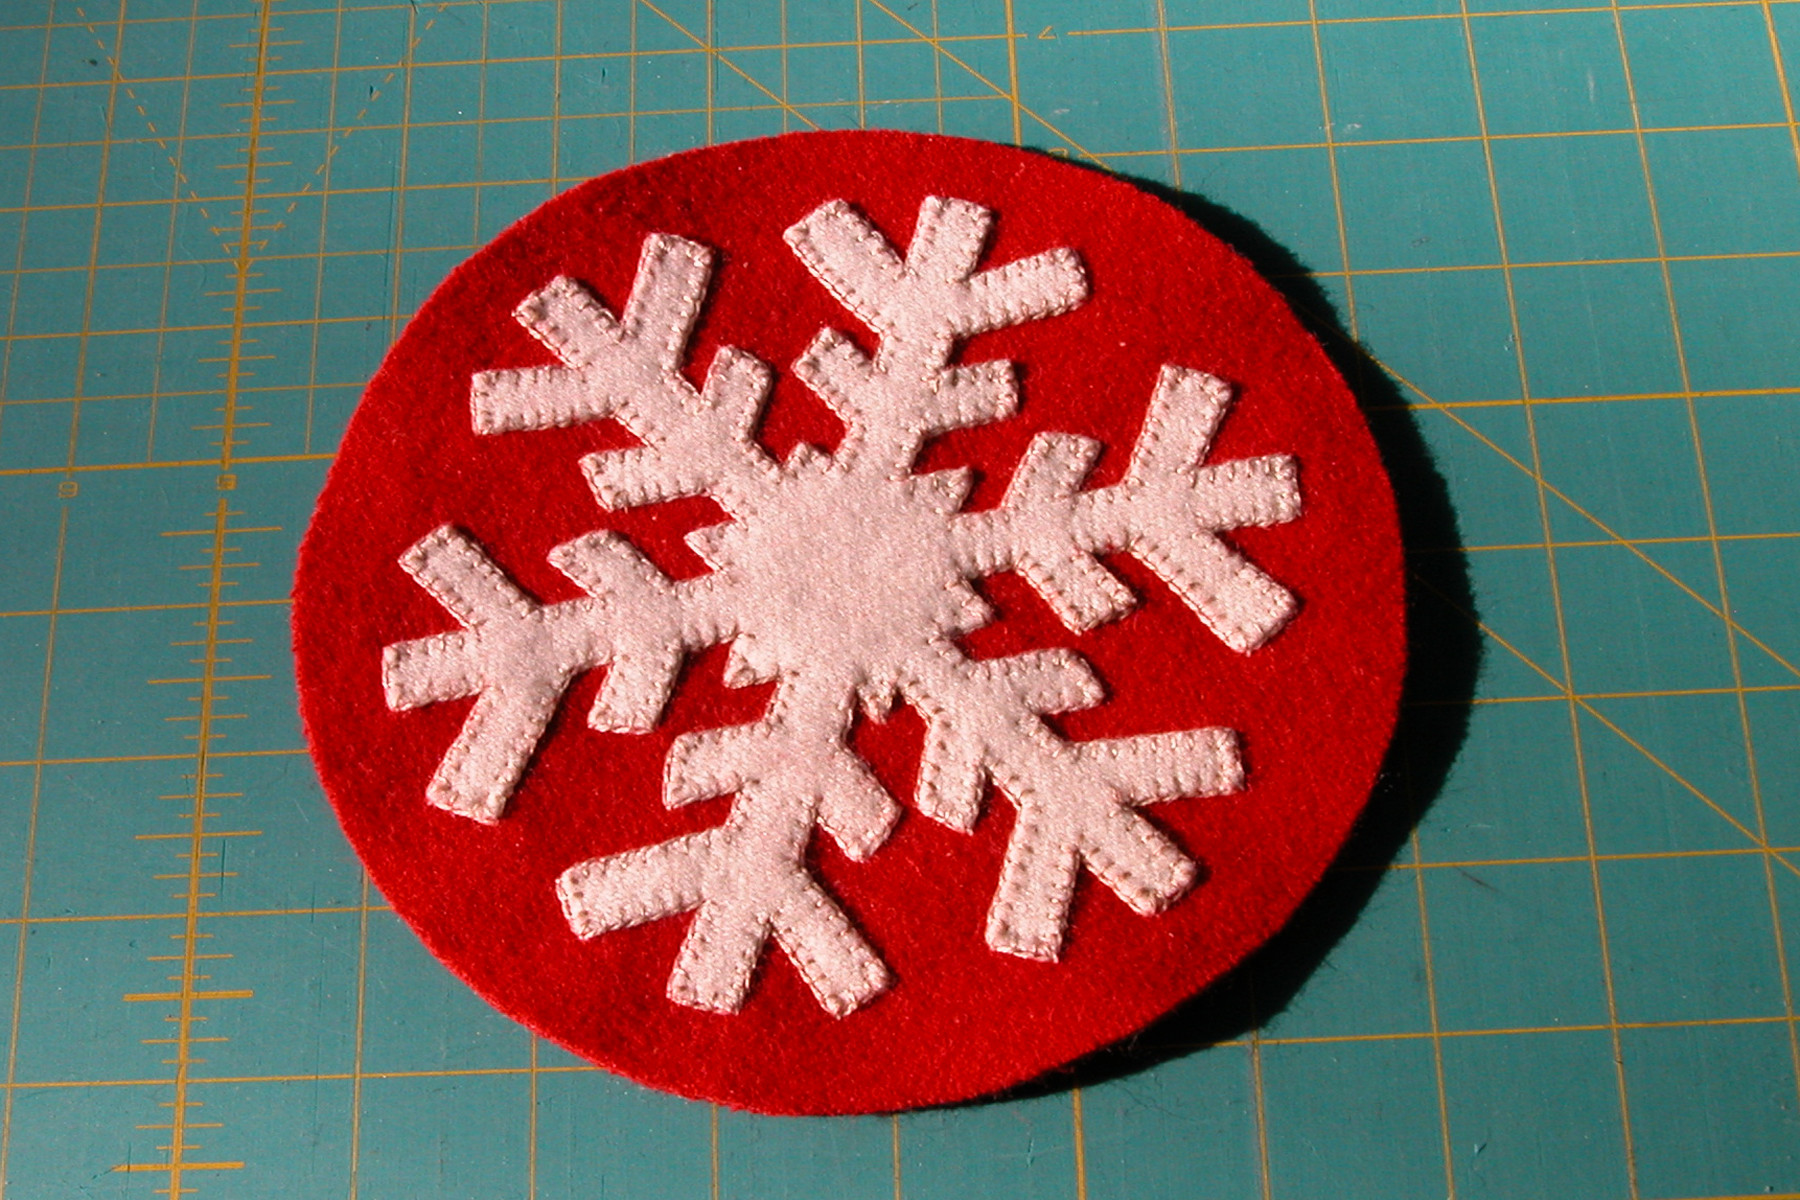
Appliqued single layer snowflake on 2 layer background
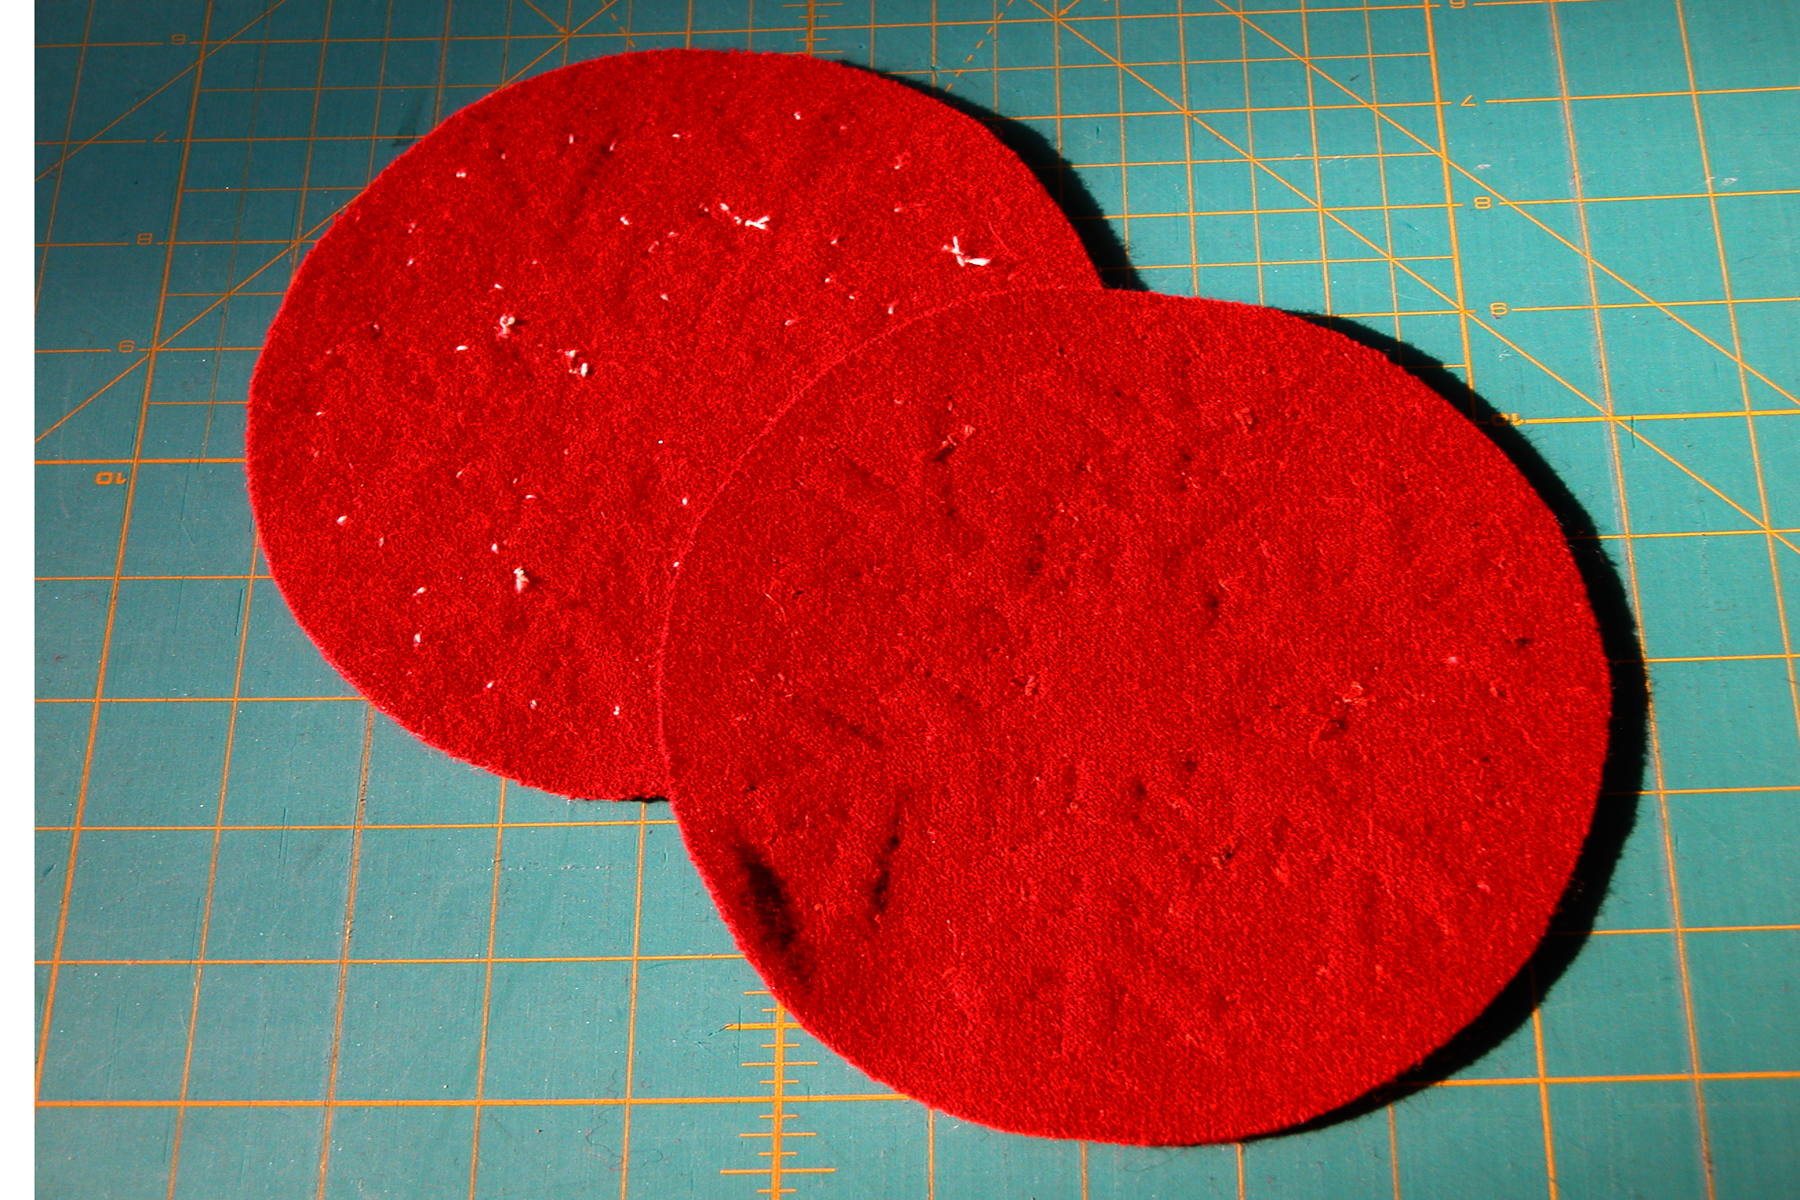
Back side of the samples!
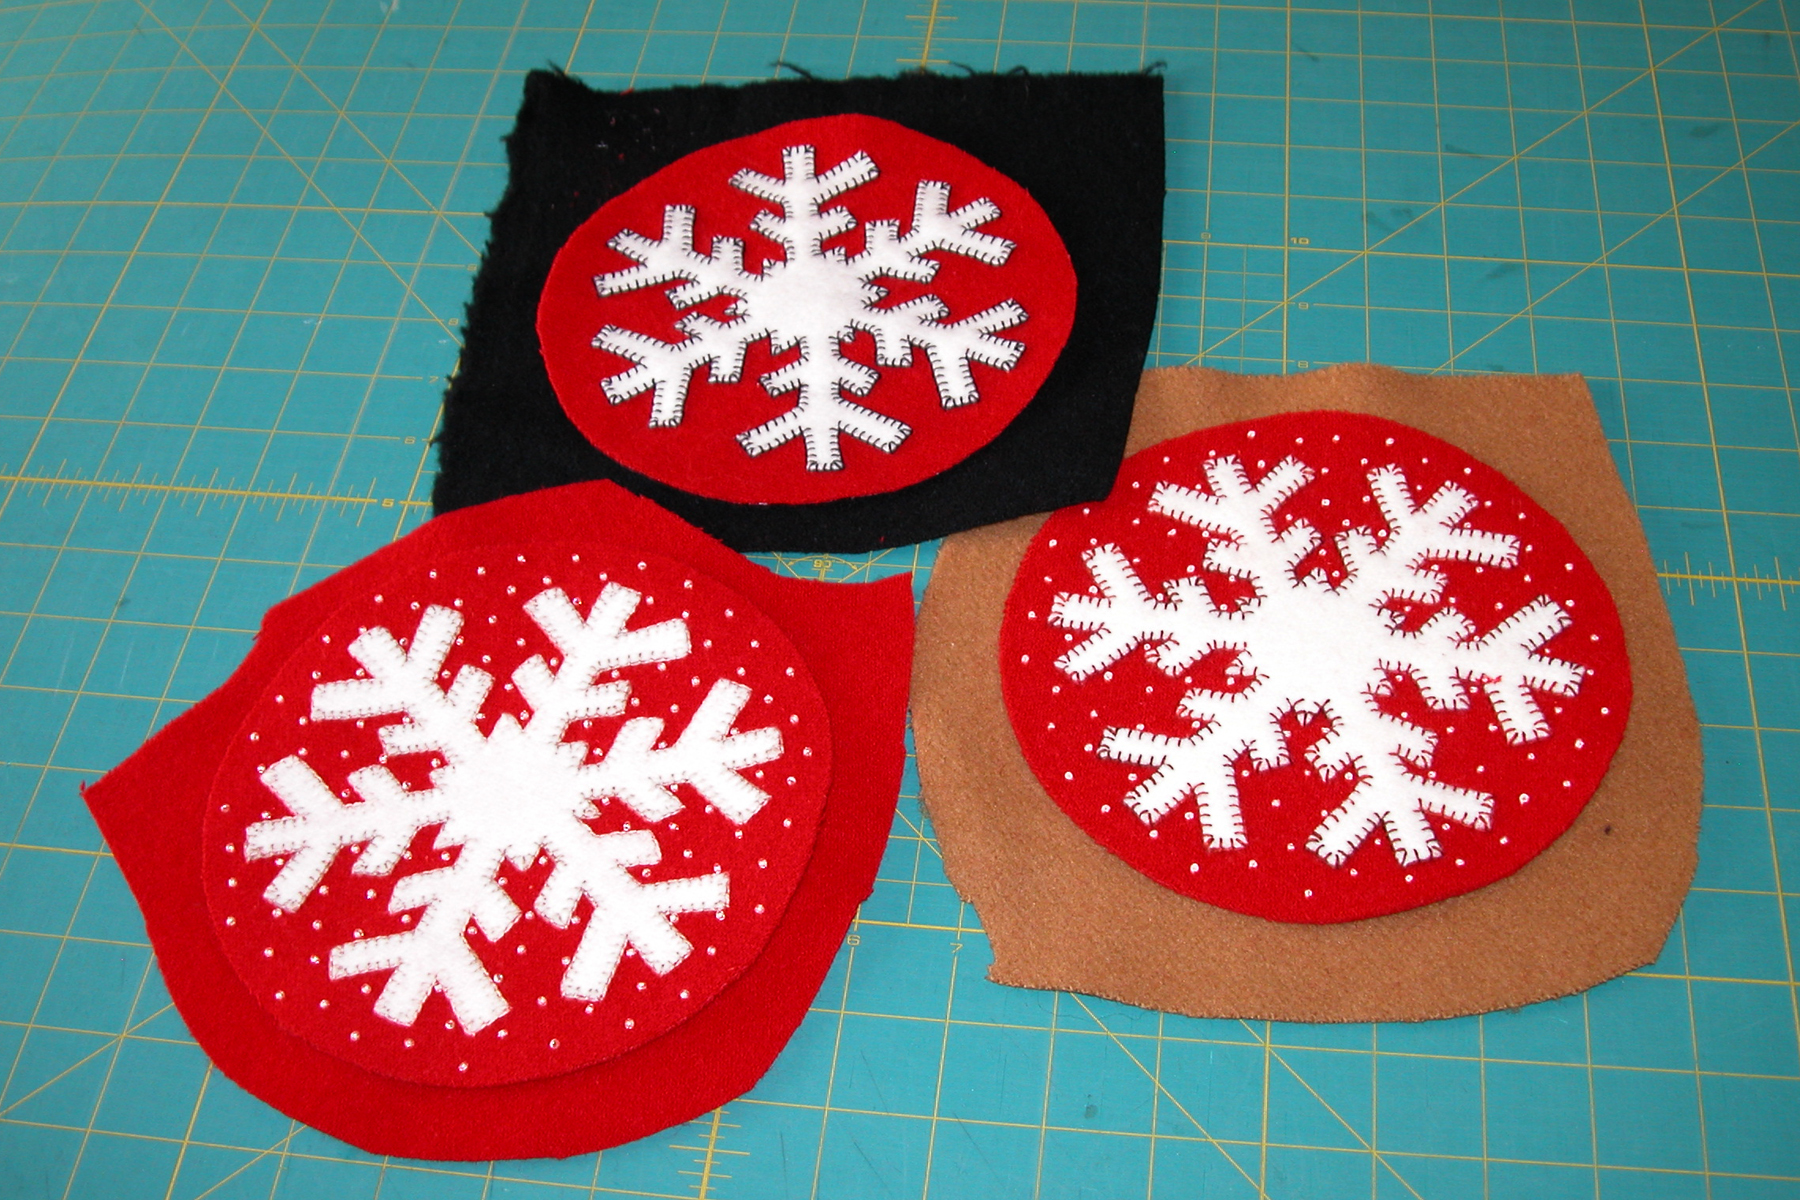
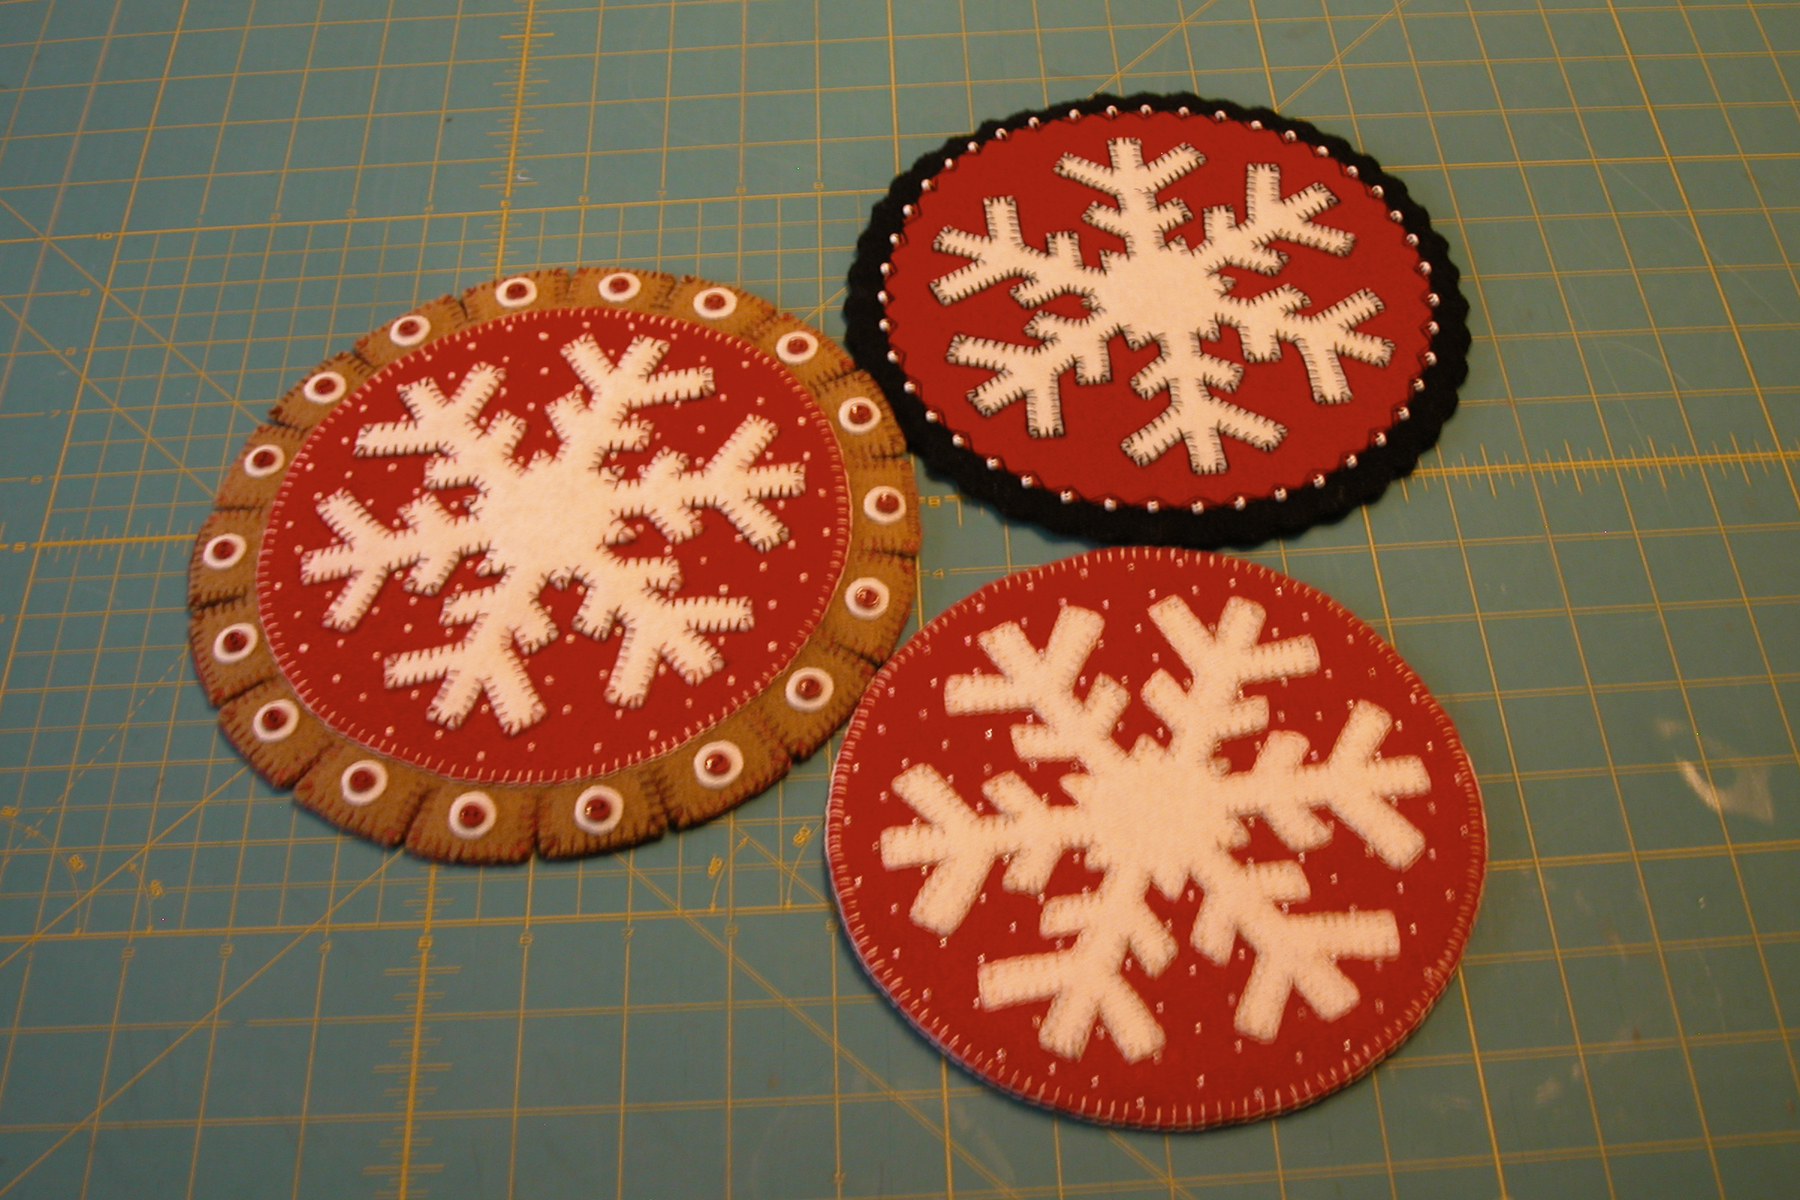
Auditioning background colors for all three sample models!
The photo (above left) shows the finished applique on the sample that has a single layer snowflake on a 2 layer background. The middle photo shows a picture of the backs of the two samples shown above: it is not necessary to stitch all the way through the wool or wool felt in order to secure the applique to the top, especially when the background layer is a fused double layer. (Later in this post, I will show the back of the green sample model which is a single layer background that has fusible applied.) Once this top snowflake applique was done, I decided to do each sample a bit different in regards to my trademark beaded backgrounds. Actually, if you look to the photo on the right, you will see the third sample: a single fused white snowflake appliqued with black thread to a single layer of red wool that has fusing applied (that’s the one on the black background!) I won’t go into the beading process as I previously covered that process in my Fall Leaves Tutorial http://www.designandbemary.com/fall-leaves-part-4-the-beading/ However, I did decide to leave one plain – without any beading in the background(the one on black), and I also did one by using french knots instead of beads(the one on beige/tan wool). The photo of the three samples shows them laid out on potential background colors as I considered different options to finish each one. Even when I work with a single project, I find it helpful to audition different backgrounds, quite often finding more than one acceptable option!

Fusible backing applied to back of appliqued red sample

Trimming the backing off after it is fused to the top.

This beaded sample was finished with a simple blanket stitch edge
In the above left photo, you can see the application of fusible to the back of the appliqued and beaded sample. Once the fusible was applied, the paper backing was removed and the sample was placed right side up on a single layer of red wool, then pressed well to fuse the backing to the front. It works just fine to press from the top – it doesn’t hurt the glass beads or the applique – or you can carefully flip it over and press it from the back. It is helpful to use a fusible pressing sheet. Once the layers are fused, you can turn the piece right side up and carefully trim the backing exactly along the top edge (center picture above); this makes a very nice edge ready for the final edge stitching. The photo (above right) shows the finished stitched edge.

More auditioning on paper cut outs!

The ‘tabbed’ background seemed perfect for this sample w. french knots

Close up of variegated red thread, french knots and tabbed backing
Once the first sample was done,I did more auditioning – with paper cut outs – to determine how to finish the next sample (the one with a 2 layer fused snowflake applique on a 2 layer fused background, variegated red thread, and french knots made with the light variegated 3 strand embroidery floss). See the photo above right. I used the sample I had finished to help me determine if I should use a blanket stitch to sew the sample to the backing and if so – would the light colored thread work. I chose the tabbed design on the right and made a freezer paper pattern. I pressed this pattern to the tan wool, but I also realized that in stitching the top to this single layer backing the stitches would show on the back. That and the fact that the tan wool did not have the sharpest clean edges, led me to plan for a fused 2 layer backing! (I was a bit concerned that this was getting a bit thick but went ahead with my plans!)
So, I then applied fusible to the back of the tan wool (with the freezer paper pattern ironed to it) and cut out the tabbed backing piece. Remove the fusible paper backing and save! Remove the freezer paper pattern from the ‘top.’ Using the same process as in the first sample model, I applied fusible to the back of the red background, removed the paper backing, and centered the piece on the top of the tan wool tabbed backing piece (which has fusible on the back!) Here’s the catch though: you can’t just iron the red background to the top of the tan backing because the tan backing has fusible on the back! The way you can accomplish this is to take the piece of paper that you saved from the fusible on the back of the tan wool, replace it back on the fused wool, and then press to fuse the layers together! This, and the use of a fusible pressing sheet will keep the fusible on the back of the tan wool from fusing to anything! Once this is cool, you can then remove and dispose of the fusible paper!
At this point you can stitch the red background to the tan wool backing; the fact that they are fused together will make this quite easy. I next added the little white applique circles in each tab and added the buttons as well. It was a little strange to stitch through wool fabric with the fusible backing – kind of a rubbery feel!! – but it works fairly well, my needle didn’t stick and the wool was very stable. After all stitching was finished on the top, I laid the entire piece – fusible side down – on the back side of another piece of tan wool, pressed to fuse them together, then cut the final backing piece to match the top tabbed upper layer. I used variegated red thread to blanket stitch around the piece. When all done, I gave it a good steam pressing from the back and was quite amazed to see how well it ‘flattened’ out, relieving my previous fears about being too thick! Notice the use of french knots in the close up – no beading!

Application and wave cutting of the black backing

Finished edge of the sample with black backing

The finished backside of the sample with black backing
This leaves the third sample – for this one I fused the single layer white snowflake to a single layer of red wool that had fusible applied to the back. After working with the other two samples this sure felt thin, but the fusible does a great job of keeping the wool stable, even if it does feel a bit rubbery!! I also decided to use the same backing method I used in one of my table toppers http://www.designandbemary.com/products/snowy-evening-applique-pattern-wool/ that is, a backing applied an a single layer. What I mean by this is that you can use a single layer of wool to create the backing OR you can fuse two layers of wool together and then apply it as the backing, but treat it as one layer! Since my black wool is a bit thin, I fused two layers together. I then placed the appliqued top (done in contrasting black thread, no background embellishment), fusible side down on top of the fused 2 layer black wool piece, and used the iron to fuse the layers together. I allowed for at least an inch all around the outside edge. I used a ruler and moving it around the edge measured a line about 1/2″ out and marked this with white removable pencil. Notice this is the photo above left. Once this was done, I used a wave cutter to follow that line freehand and cut out the black backing. I’m always concerned about how the ending wave will meet the starting wave, but somehow, it always seems to come out very close – enough to rarely notice!!
Once this was done, I used large ‘cross’ stitches to applique the red top to the black backing. The trick here is to make neat stitches that will look good on the back. By measuring my stitches by the wavy ‘dips and hills’ of the cut edge, I make one half of a cross stitch (almost like a big whip stitch!) all the way around the circle; then go back around the circle making another stitch that crosses over the first one and uses the same needle holes. You can see by the photo above right how this looks on the back: it makes a nice zig zag line of stitching. I decided that the edge needed something more though, so I added some size 8 seed beads, sewing them on by ‘sneaking’ (sometimes called ‘travelling’) the needle and thread between the layers as I sewed around. For the final finishing, I did a small blanket stitch in black thread around the wave cut backing to make a nice edge and prevent any little frayed threads.
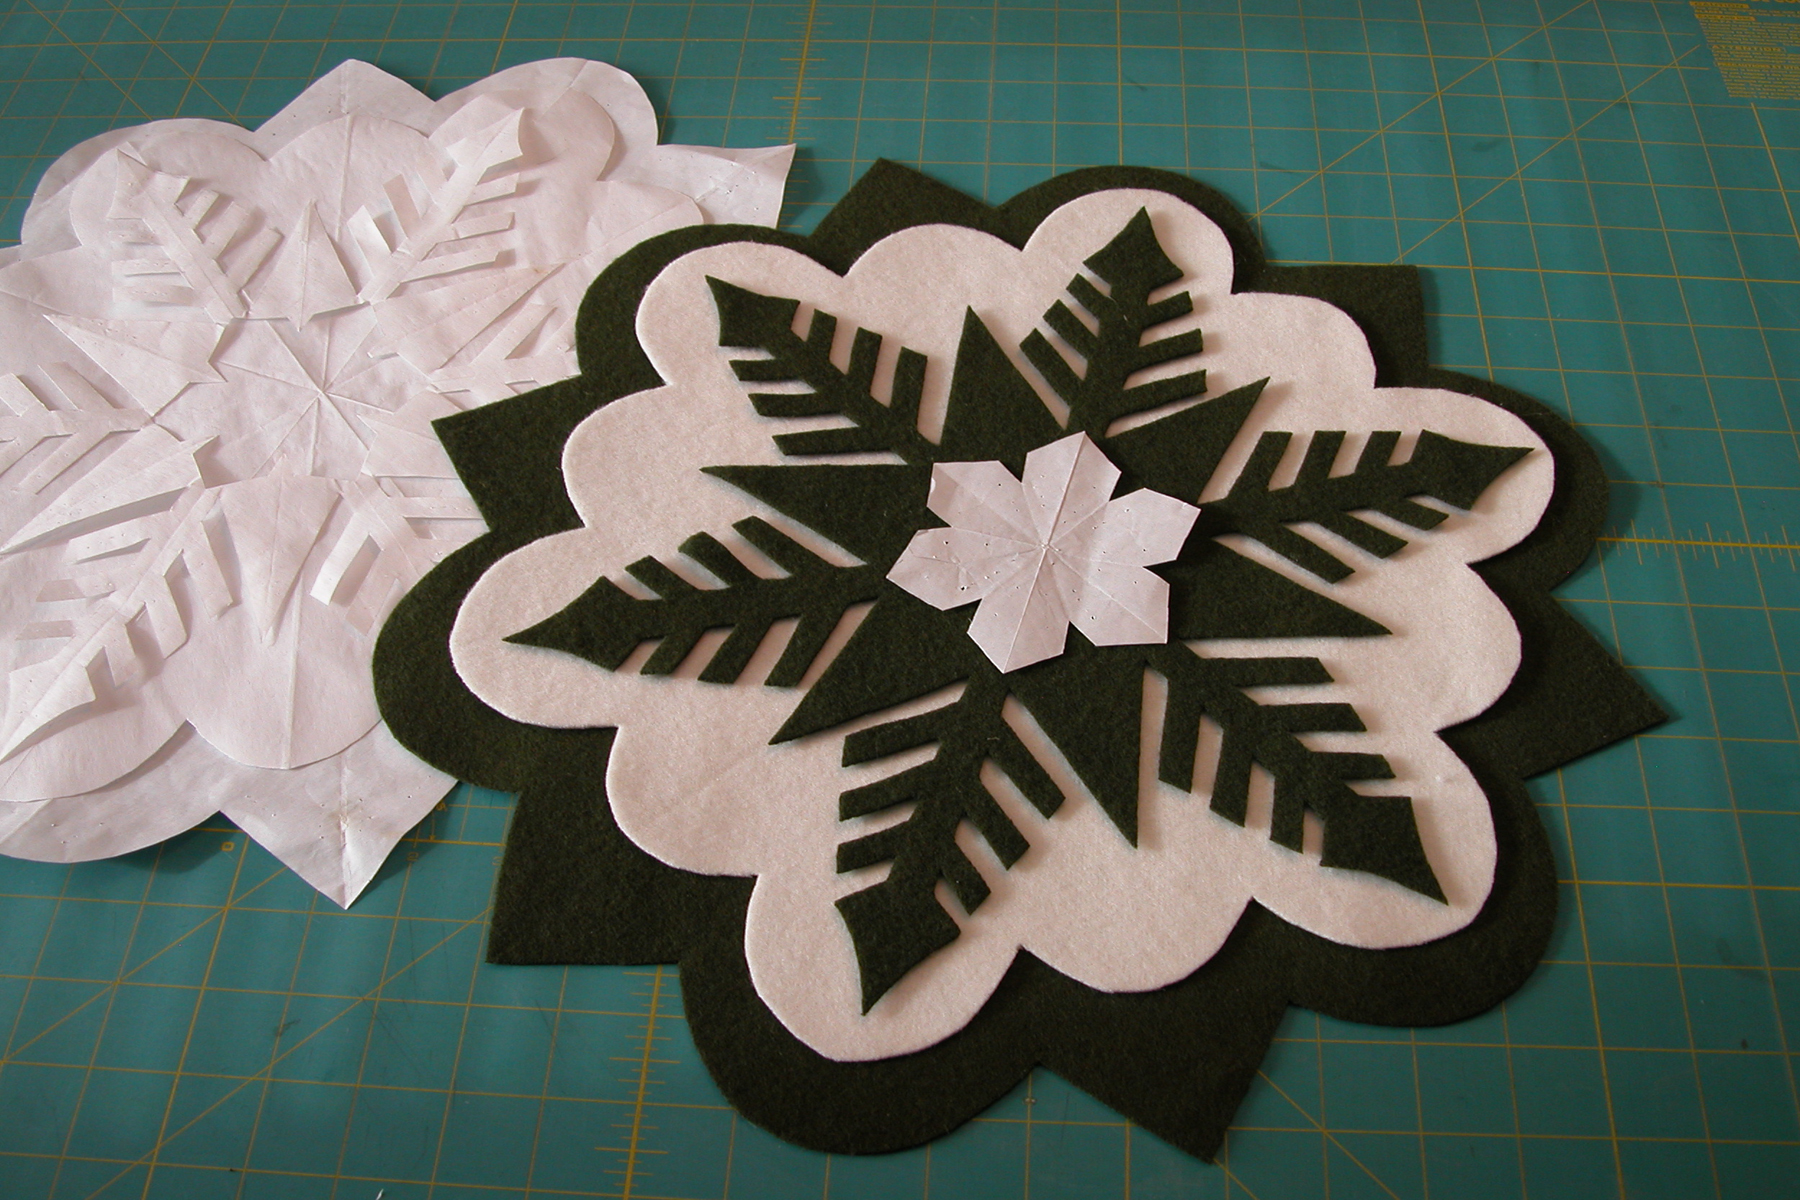
Green wool sample model appliques laid out
Auditioning possible thread for applique stitching
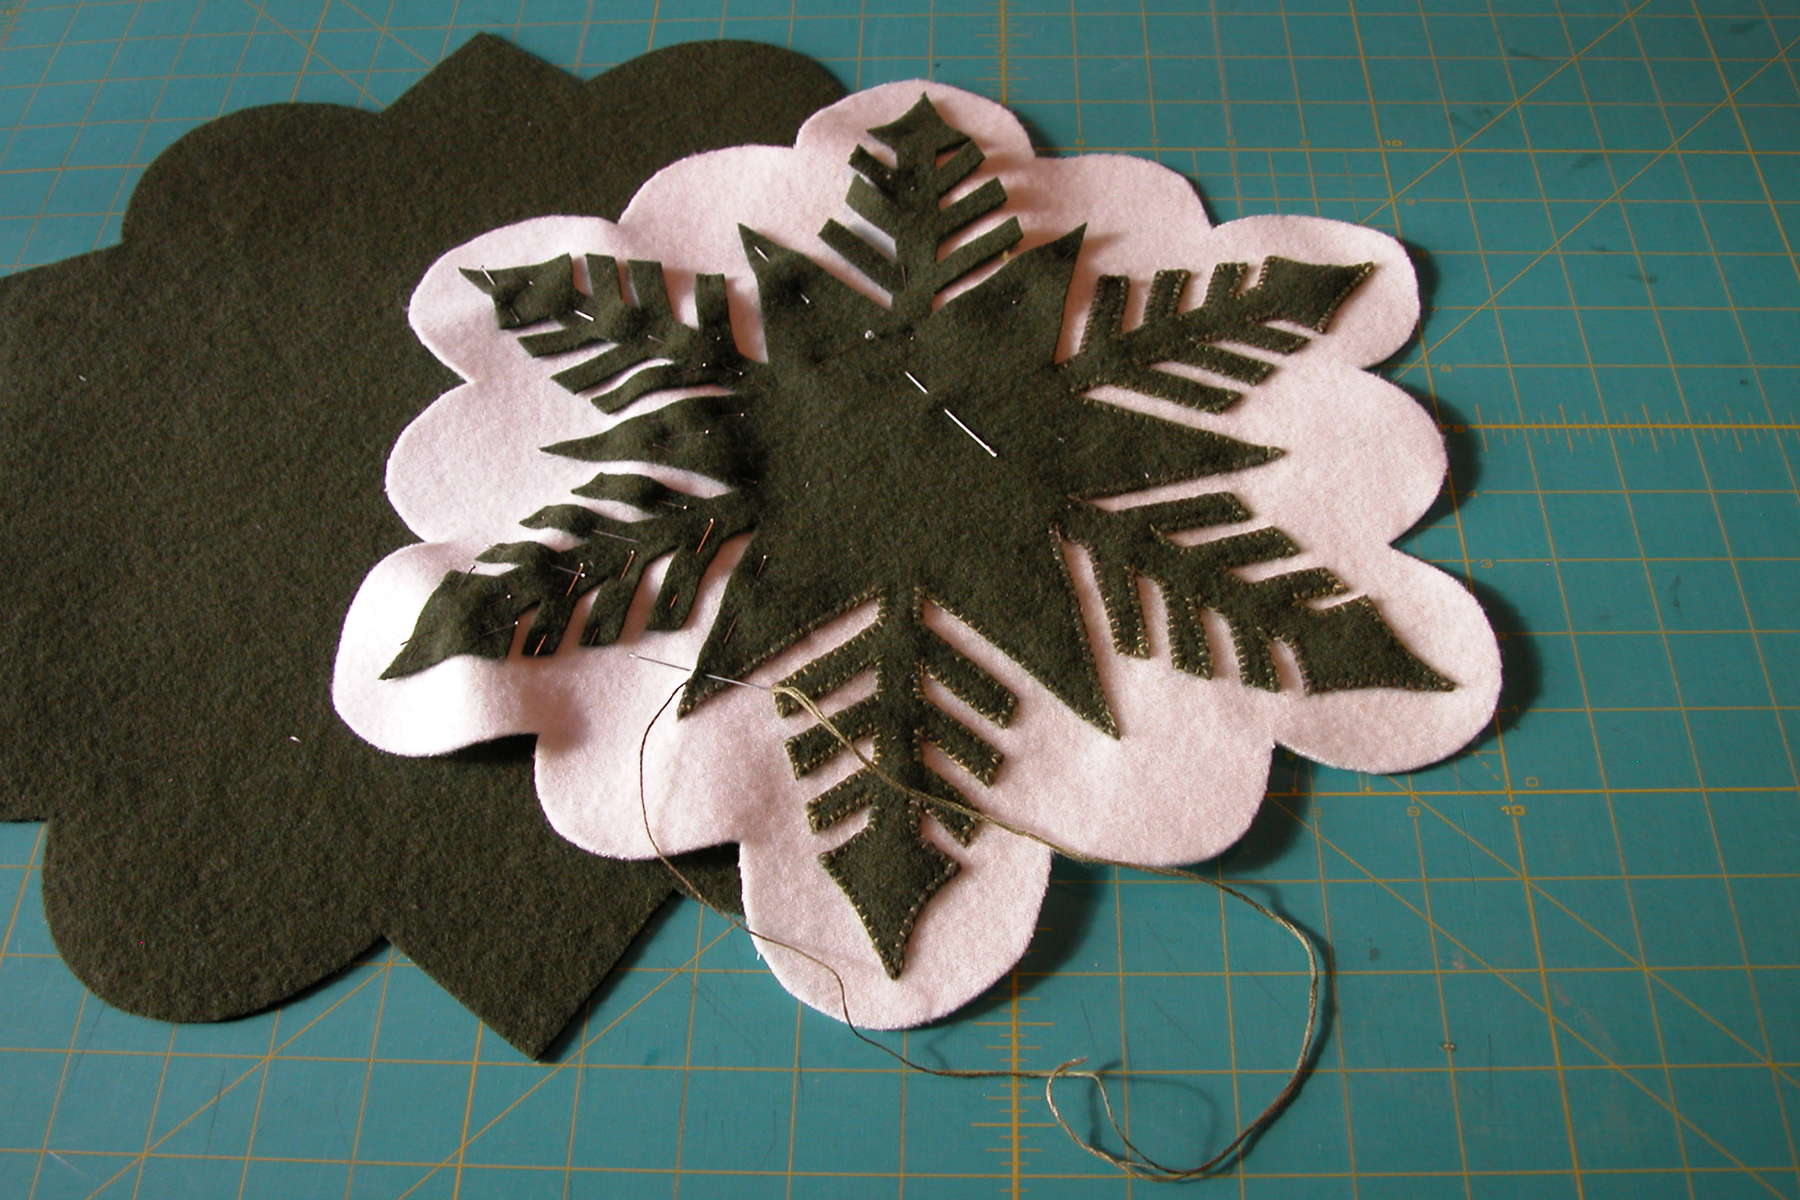
Partially done appliqued green snowflake top

Backside of the white background after applique stitching
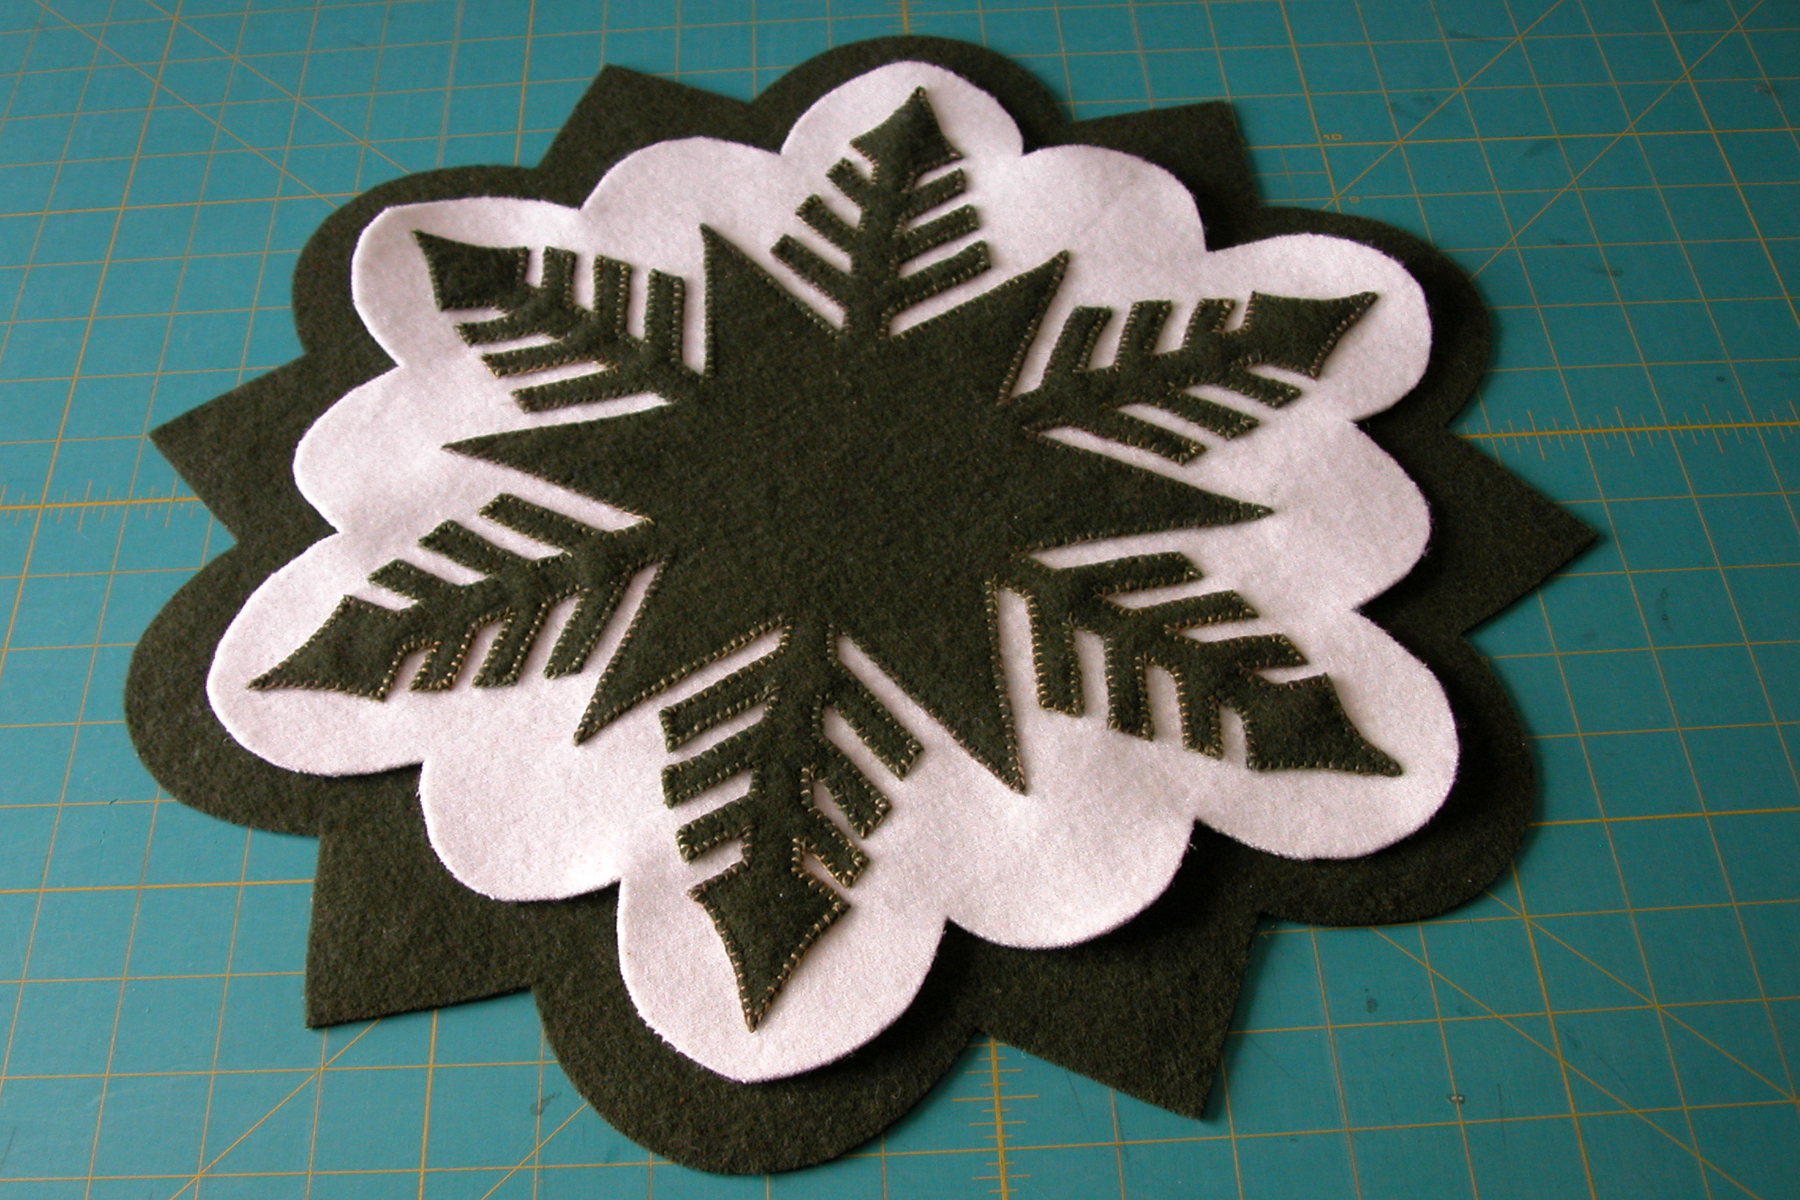
The green snowflake entirely appliqued!

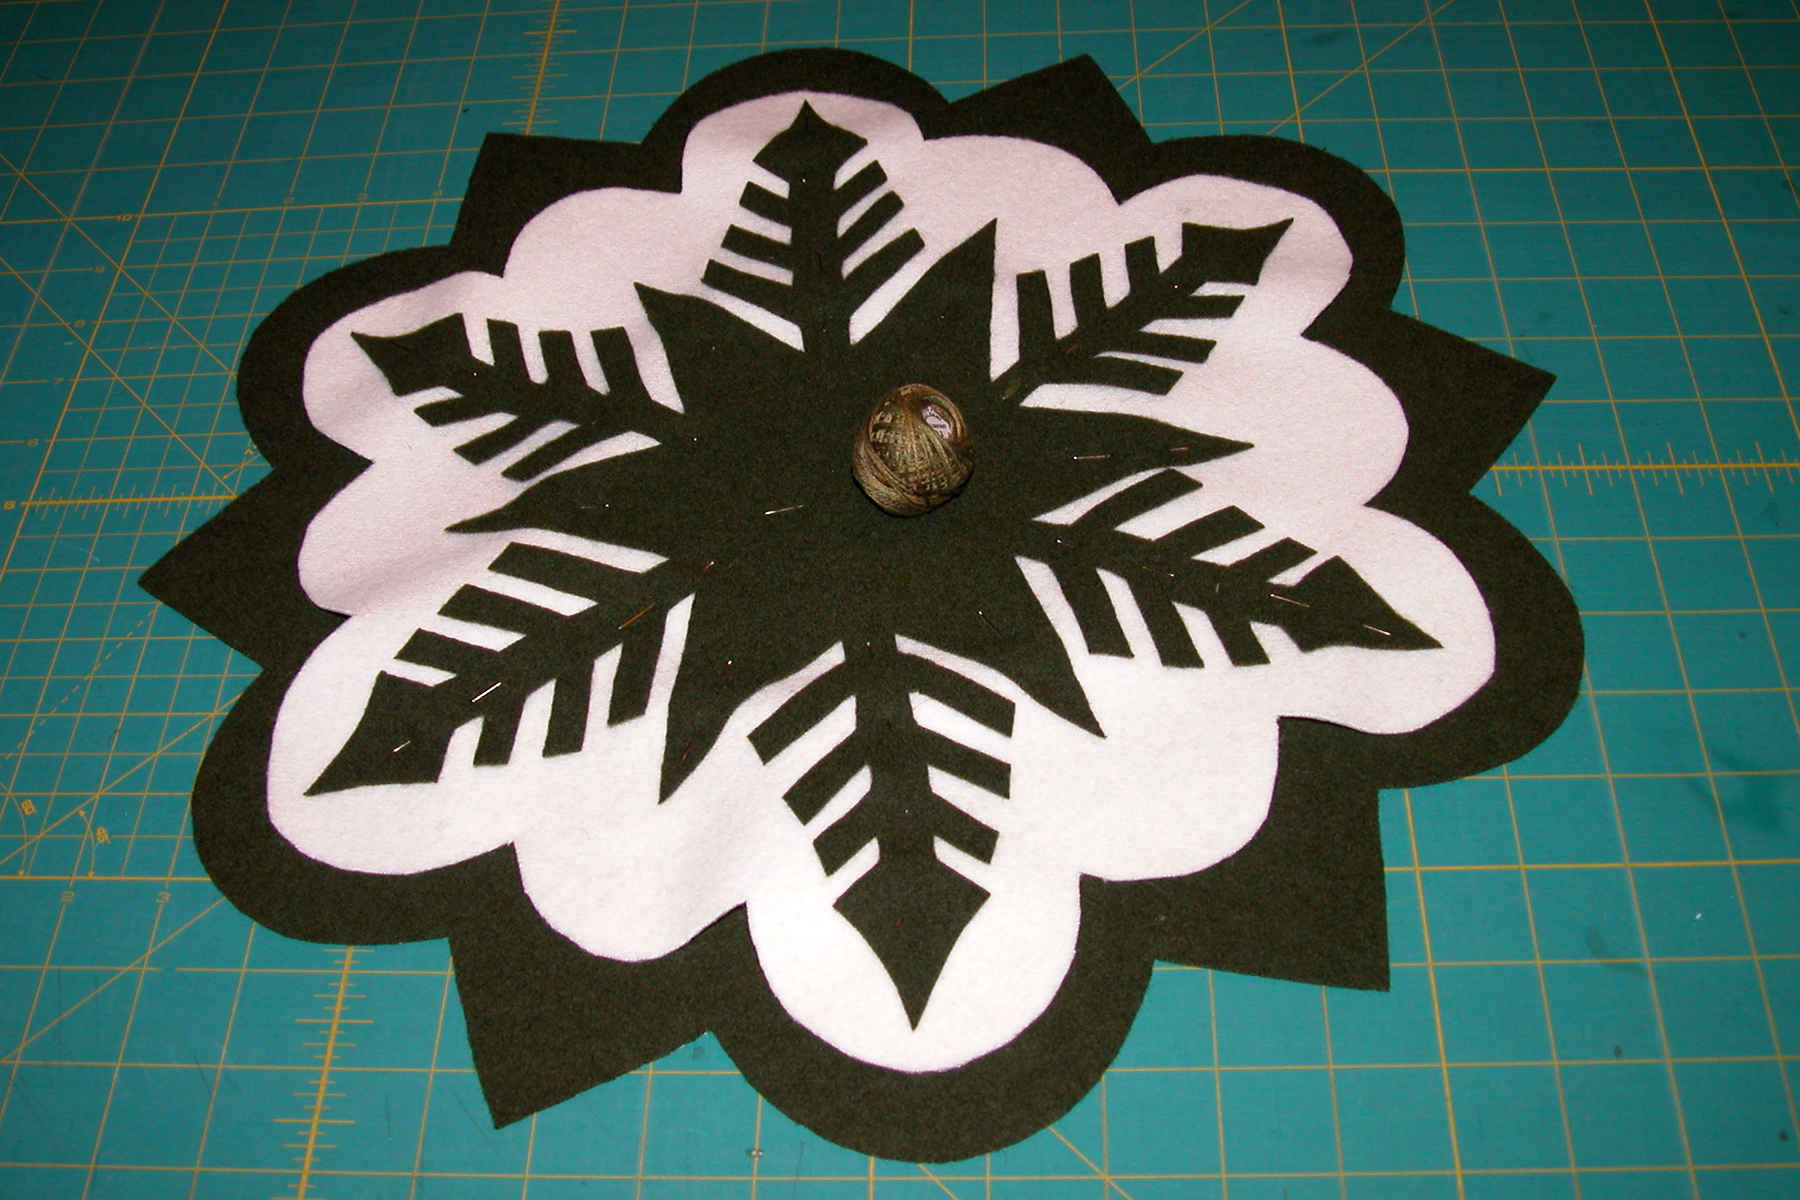
Placing and pinning the white center star for applique
The green sample model was made using many of the methods used in the small red samples. Remember that the green snowflake applique was NOT fused to the white background, but the white background was fused to the green background, which in turn was also fused to the green backing. Oh, the white center star was also not fused. I used dark green and dark brown variegated 3 strand floss for stitching, and pale brown silver lined seed beads. The photos pretty much show the process: as I mentioned above, I did include a picture showing the back of the fused white background after I had appliqued the green snowflake. It gives you a good idea of what a single fused layer looks like when it’s been stitched on!
TaDa!! The three red samples…same design, different looks!

The finished green model – I am really happy with this piece!

Reka, my little Aussie helper, ready to chew on any wool I might drop!
So there you have my models! (And one really adorable little canine face!) As a last part to this tutorial, my next post will show you – step by step – just how I stitch around those sharp points!
I love your tutorial on how to do the blanket stitch stopping and starting. Problem is I can’t find it to help me remember how. Hand stitching is not my strength and I am committed to do Christmas ornaments that have the blanket stitch and a feather stitch with pearls stitched into the stitch. I was SO lost until I found your site. Now I am not quite as terrified. I wish that someone as talented as you lived close to me then I could learn from you and not be as intimidated. how do I find where you show how to stop the blanket stitch and restart . Your way is so much better than anyone elses that I have seen
Hello Trisha, So glad my information is helpful to you..it is always a bit intimidating when we start to learn something new. I always remind people to dwell on 1)learning the materials -how they feel, what they will do or won’t do, and how they look and 2) learning techniques from a wide array of resources. Then just use your own creativity (yes- everyone IS creative—ever see a young child that isn’t? It’s only as adults that we decide to believe others who want to judge our creative endeavors!) and enjoy stitching in a way that satisfies you. There are NO woolie police out there! I’m glad I can inspire you. To deal with the blanket stitch I suggest you go to my DesignAndBeMary You Tube channel watch this video https://www.youtube.com/watch?v=9ryOZYo0EJ8&t=228s. It shows how to hide knots, start new threads, etc. Keep in mind that I usually use fusible with my work and that can make a difference. Some people do not like the feel of the fusible in the piece, but I find that it stablizes and help the wool retain its shape over time. You get to choose. I hope that will be helpful to you.